 Victoria Esposito
Twenty years ago, when we purchased our home in Seattle, the plan was to find something that could be a canvas for customizations. We didn't want something already polished and ready to go, because that would have meant stick with that foreeevvvaaar. We built a lot of features and made the place a complete flip over from what we bought and what has become.
When we found our new place where we are now the critical decision factor was exactly the same because we sought an opportunity to craft the heck of it. And make it something that can become an experience in the making and not just a financial investment for the long run as we have done for our first home.
The new home perse required very small fixes and mostly personalization here and there. Like a desk from where to work for me and a home office for Victoria.
Zen-ify the place by removing all superfluous things as we did back home; and with major surprise than most; the couch became one of those items and so many other items that we gifted away to locals that have been very kind to us since we moved.
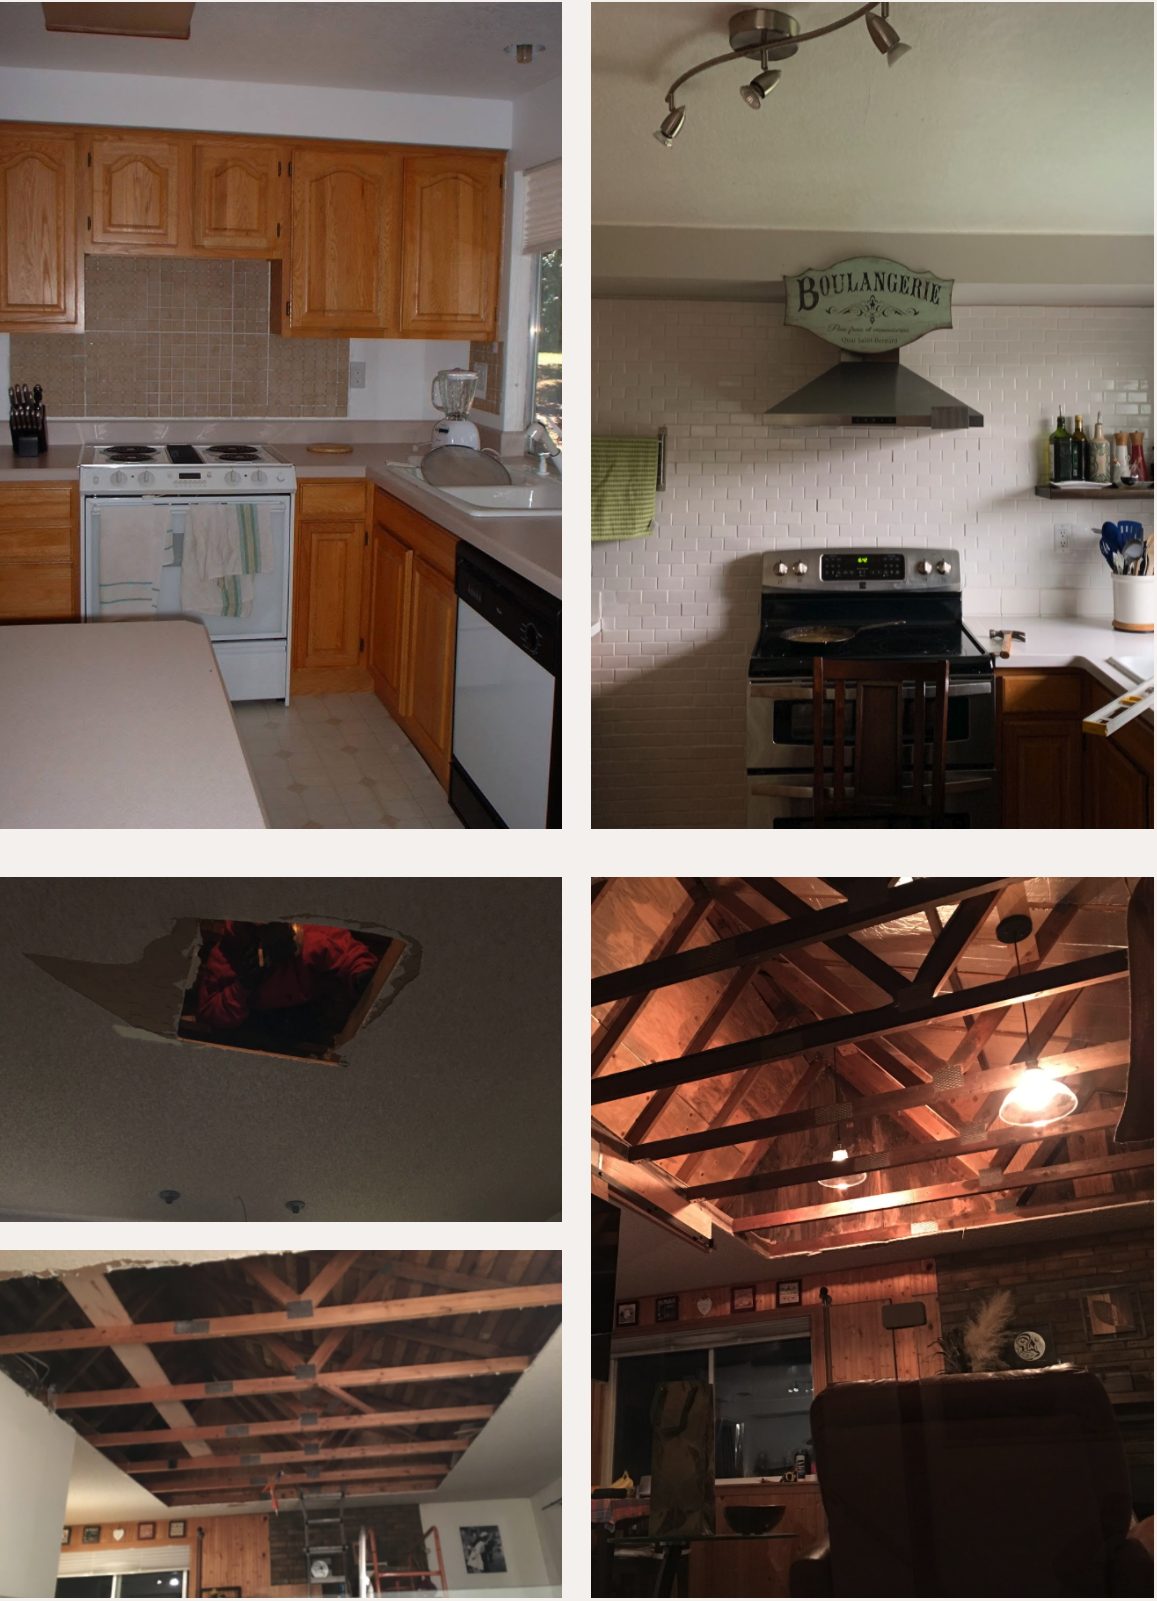
In this post, I will share what we did for the light fixtures. The ones we inherited were fine and pretty. But they had two issues: they were not centered to the whole length of the wall. It wasn't by choice, I suspect, the power wires were installed off and therefore so the fixtures.
They were open on the top which in a tropical place makes the bugs wanting to follow the warmth and happily die on the exposed light bulb. Building mosquito dust land at the bottom of the fixture. Yep, first-world problems!
The main style we picked back in WA was industrial based, the one we picked here is more nature-driven with very few pinches of an industrial look here and there.
I scouted in the backyard where we have a few Kiawe trees. If you have never seen them before, they have leaves that look like this
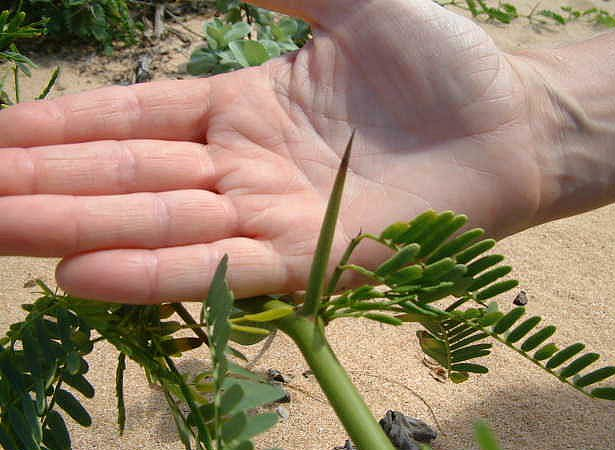
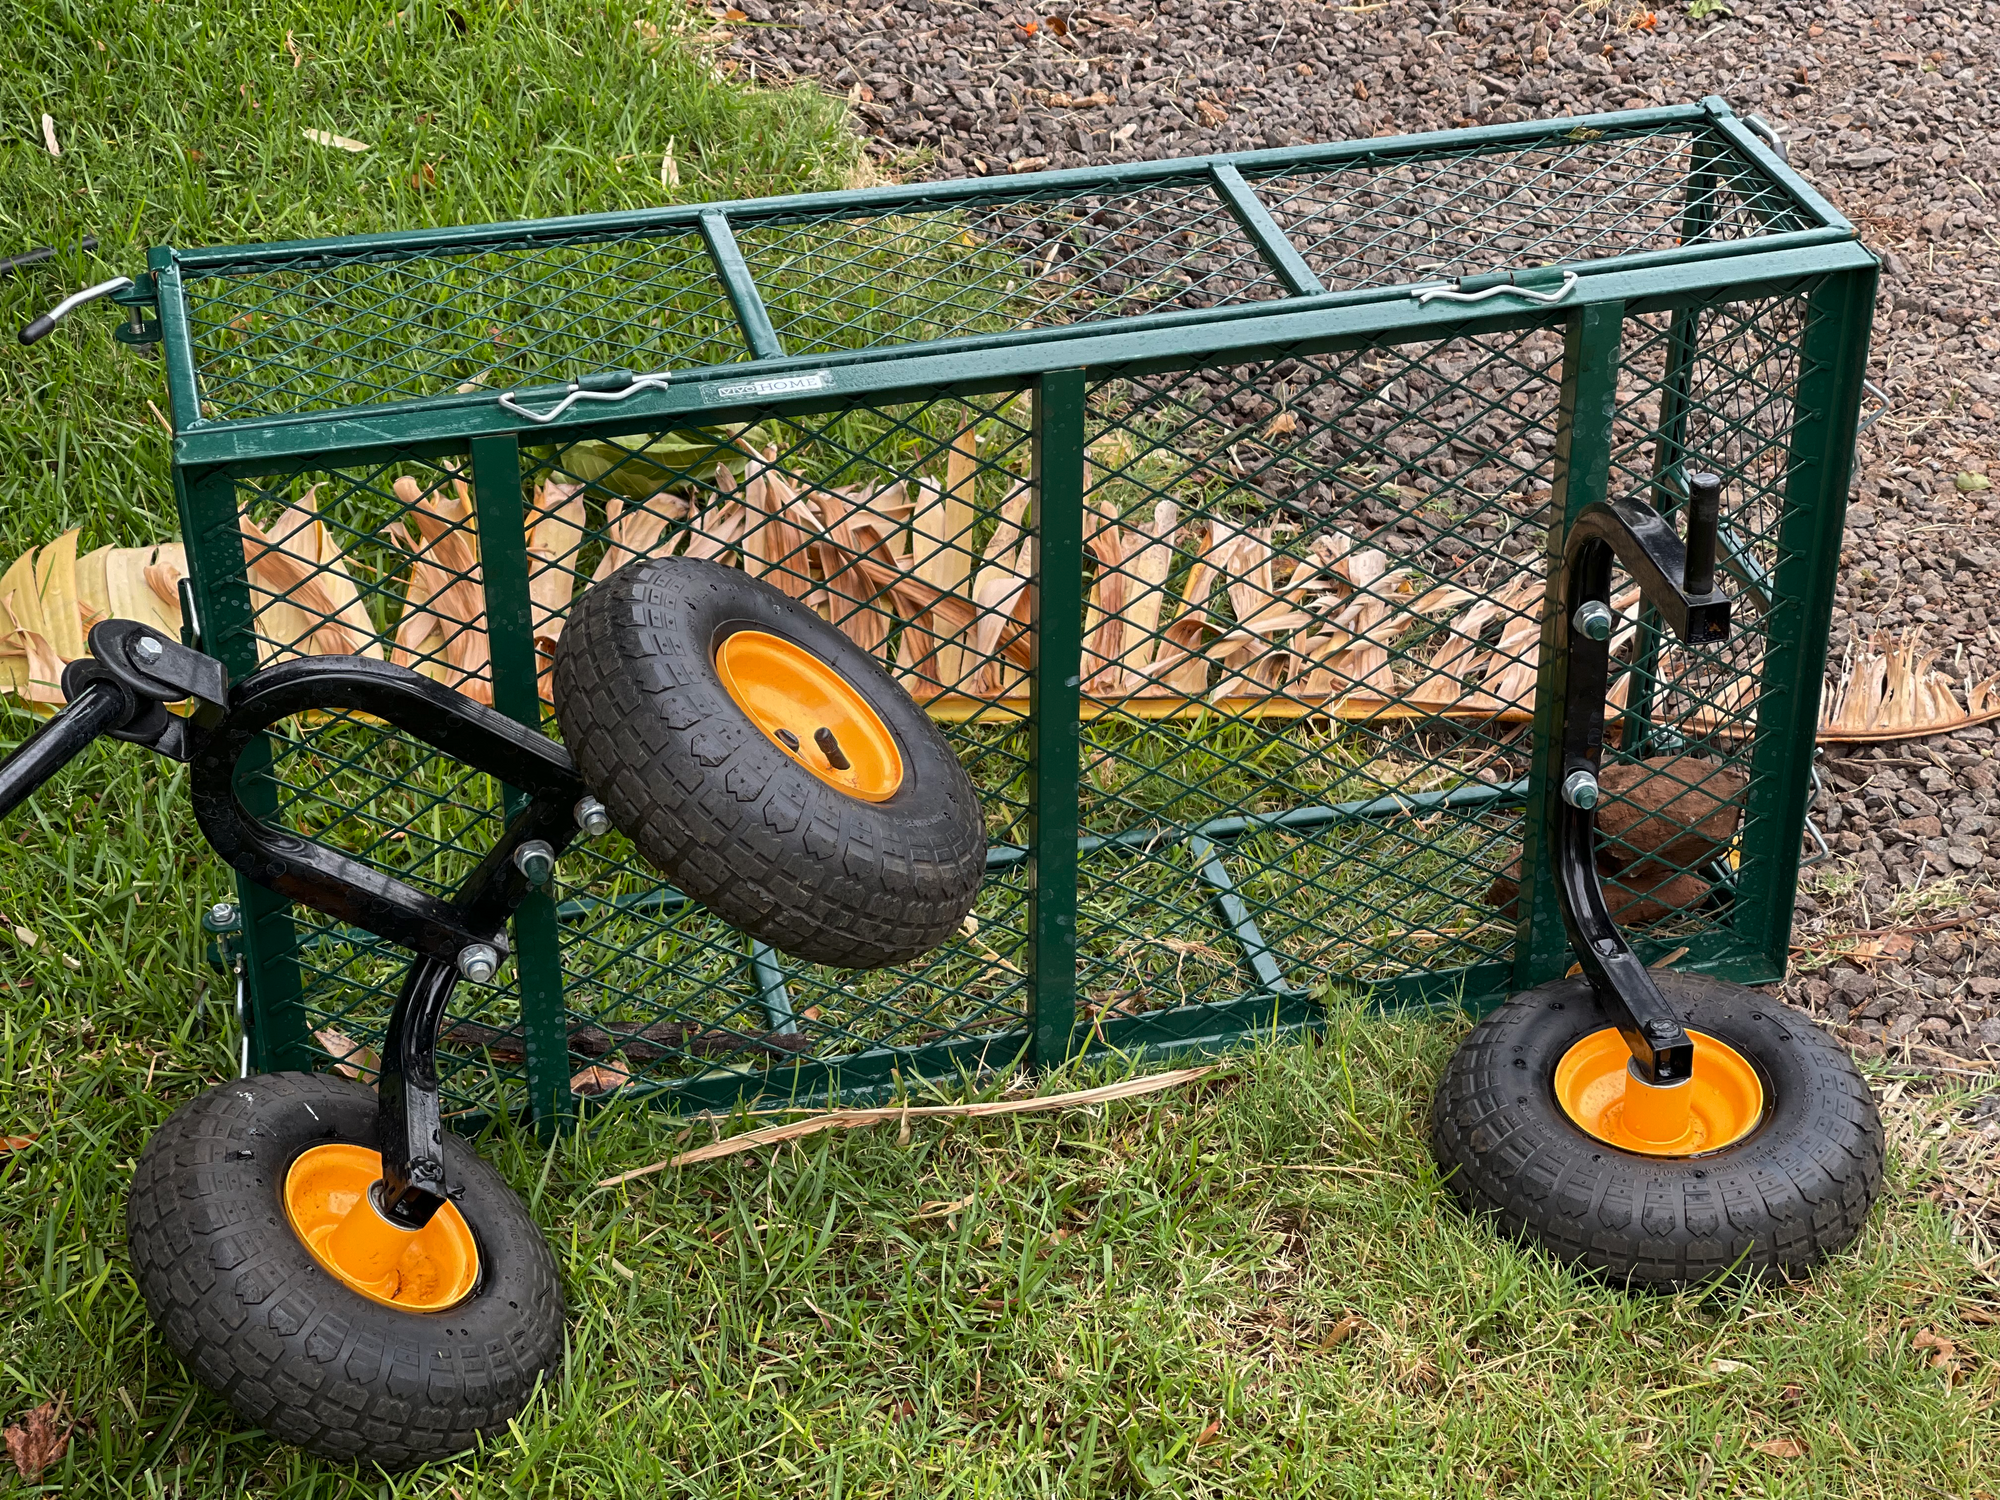
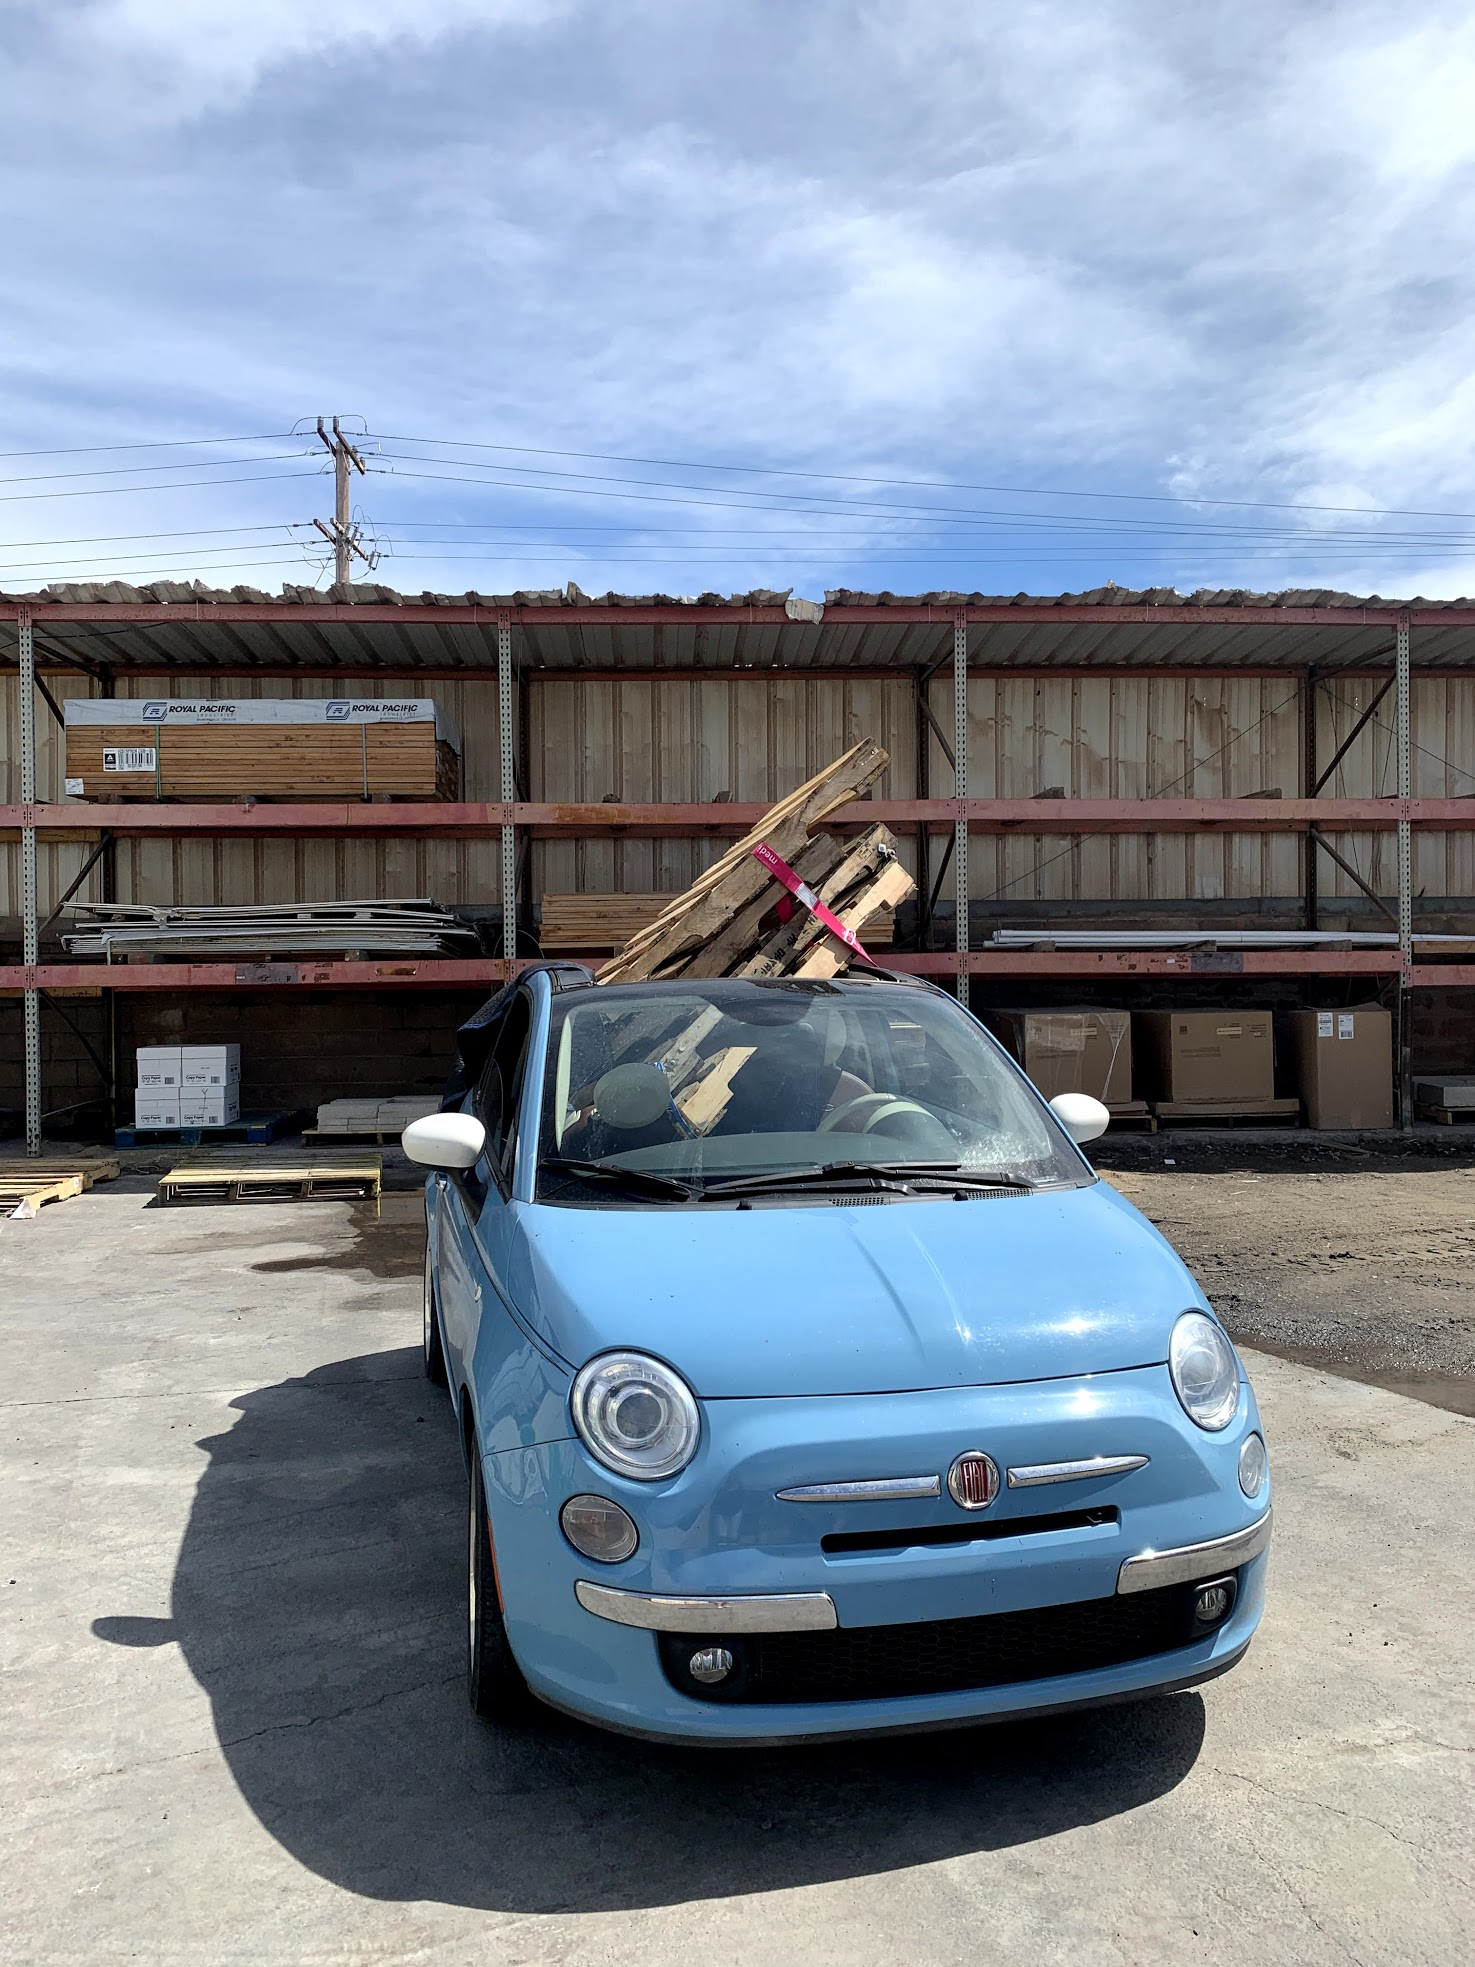
They can have thorns that easily pierce tires and did make my Crocs lose their virginity, a couple of times.
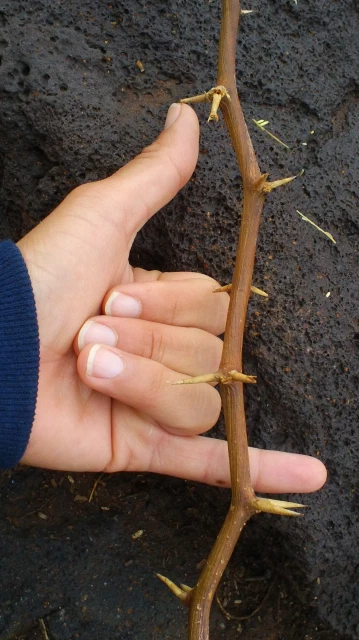
When I say they can pierce through a tough tire I am not making an analogy I am speaking by first hand, pierced, experience! If you don't see the missing tire in the photo below, then you are speaking by need glasses experience as well. I feel you!
On the other hand, the wood once has dried out is very solid and has an incredible double core design that makes it very attractive.
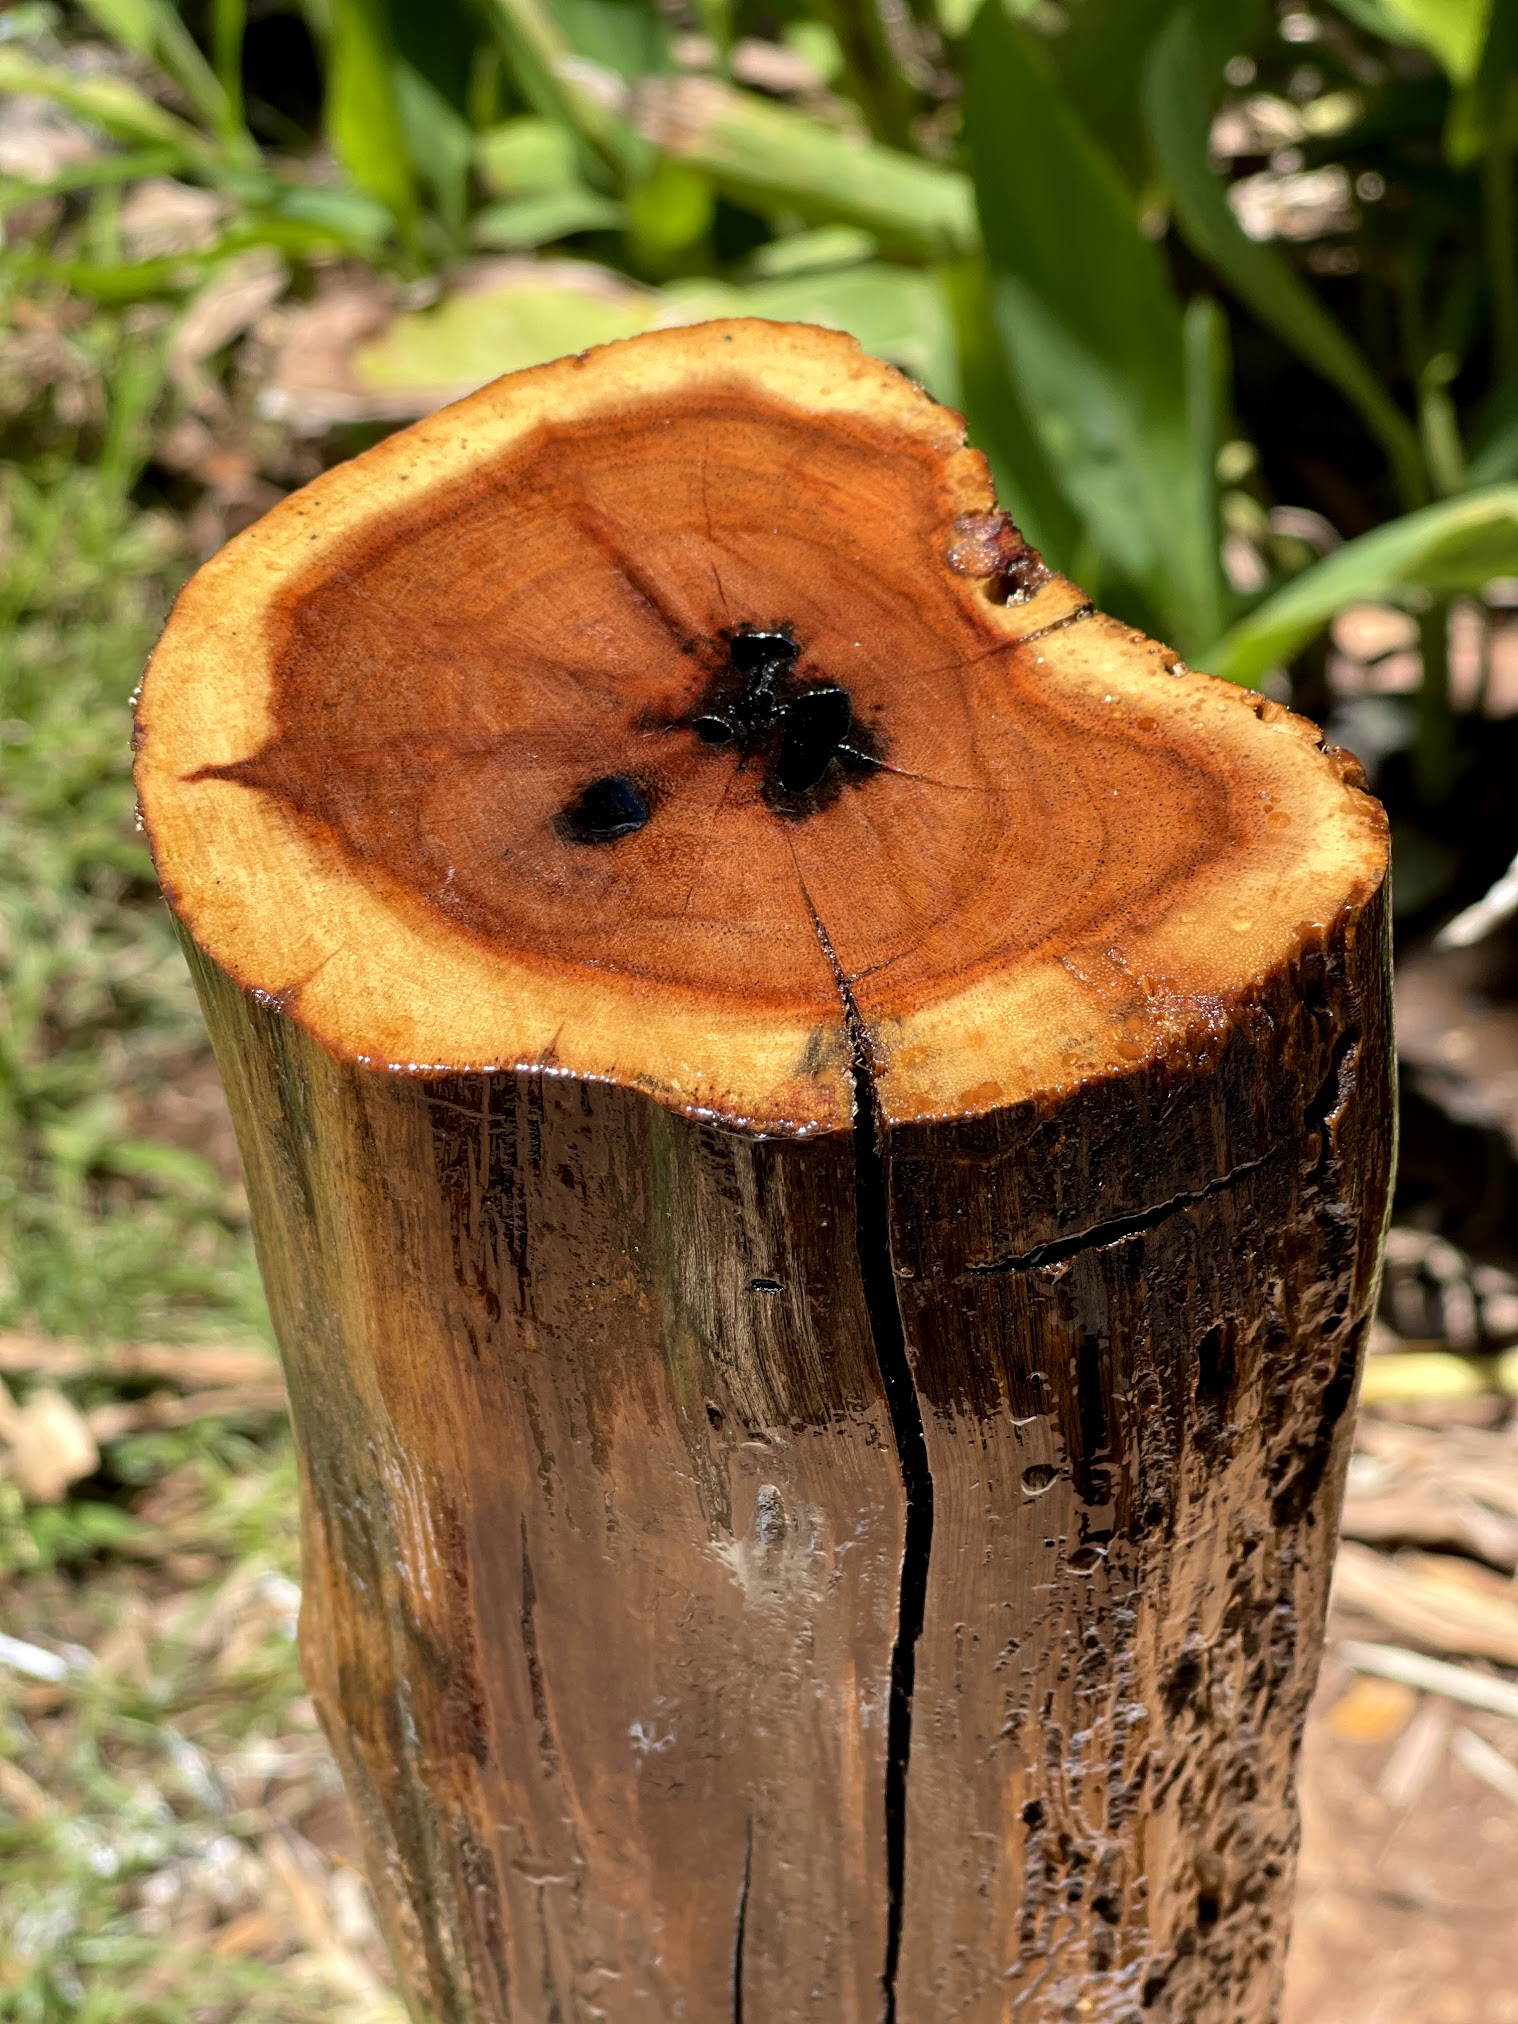
This tree is also called "the tree of life" and after learning about its history and the roots, no pun intended, of its story it had to be part of the fundamentals of the design of our new place.
Hawaii has a very long history and strong culture about family values and being connected to nature at a very spiritual level. Something, that I can deeply relate to on both topics. So this tree had it all.
A local favorite for fueling fires for hibachis, smoking meat or the imu, just the smell of kiawe smoke is known by many locals to create an immediate hunger for some ono food.
While it now grows in abundance on the leeward sides of all major Hawaiian Islands, its arrival can be traced back to a single seedling that was planted in 1828 in the corner of a churchyard in Honolulu. [source]
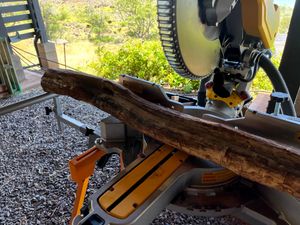
I found the shape of the branch that I was looking for. Some termites work here and there, solid at the core, beefy on one side, and slightly skinnier on the other. I couldn't have asked for more, it was exactly what I had pictured in my head and in my sketches for the plan.
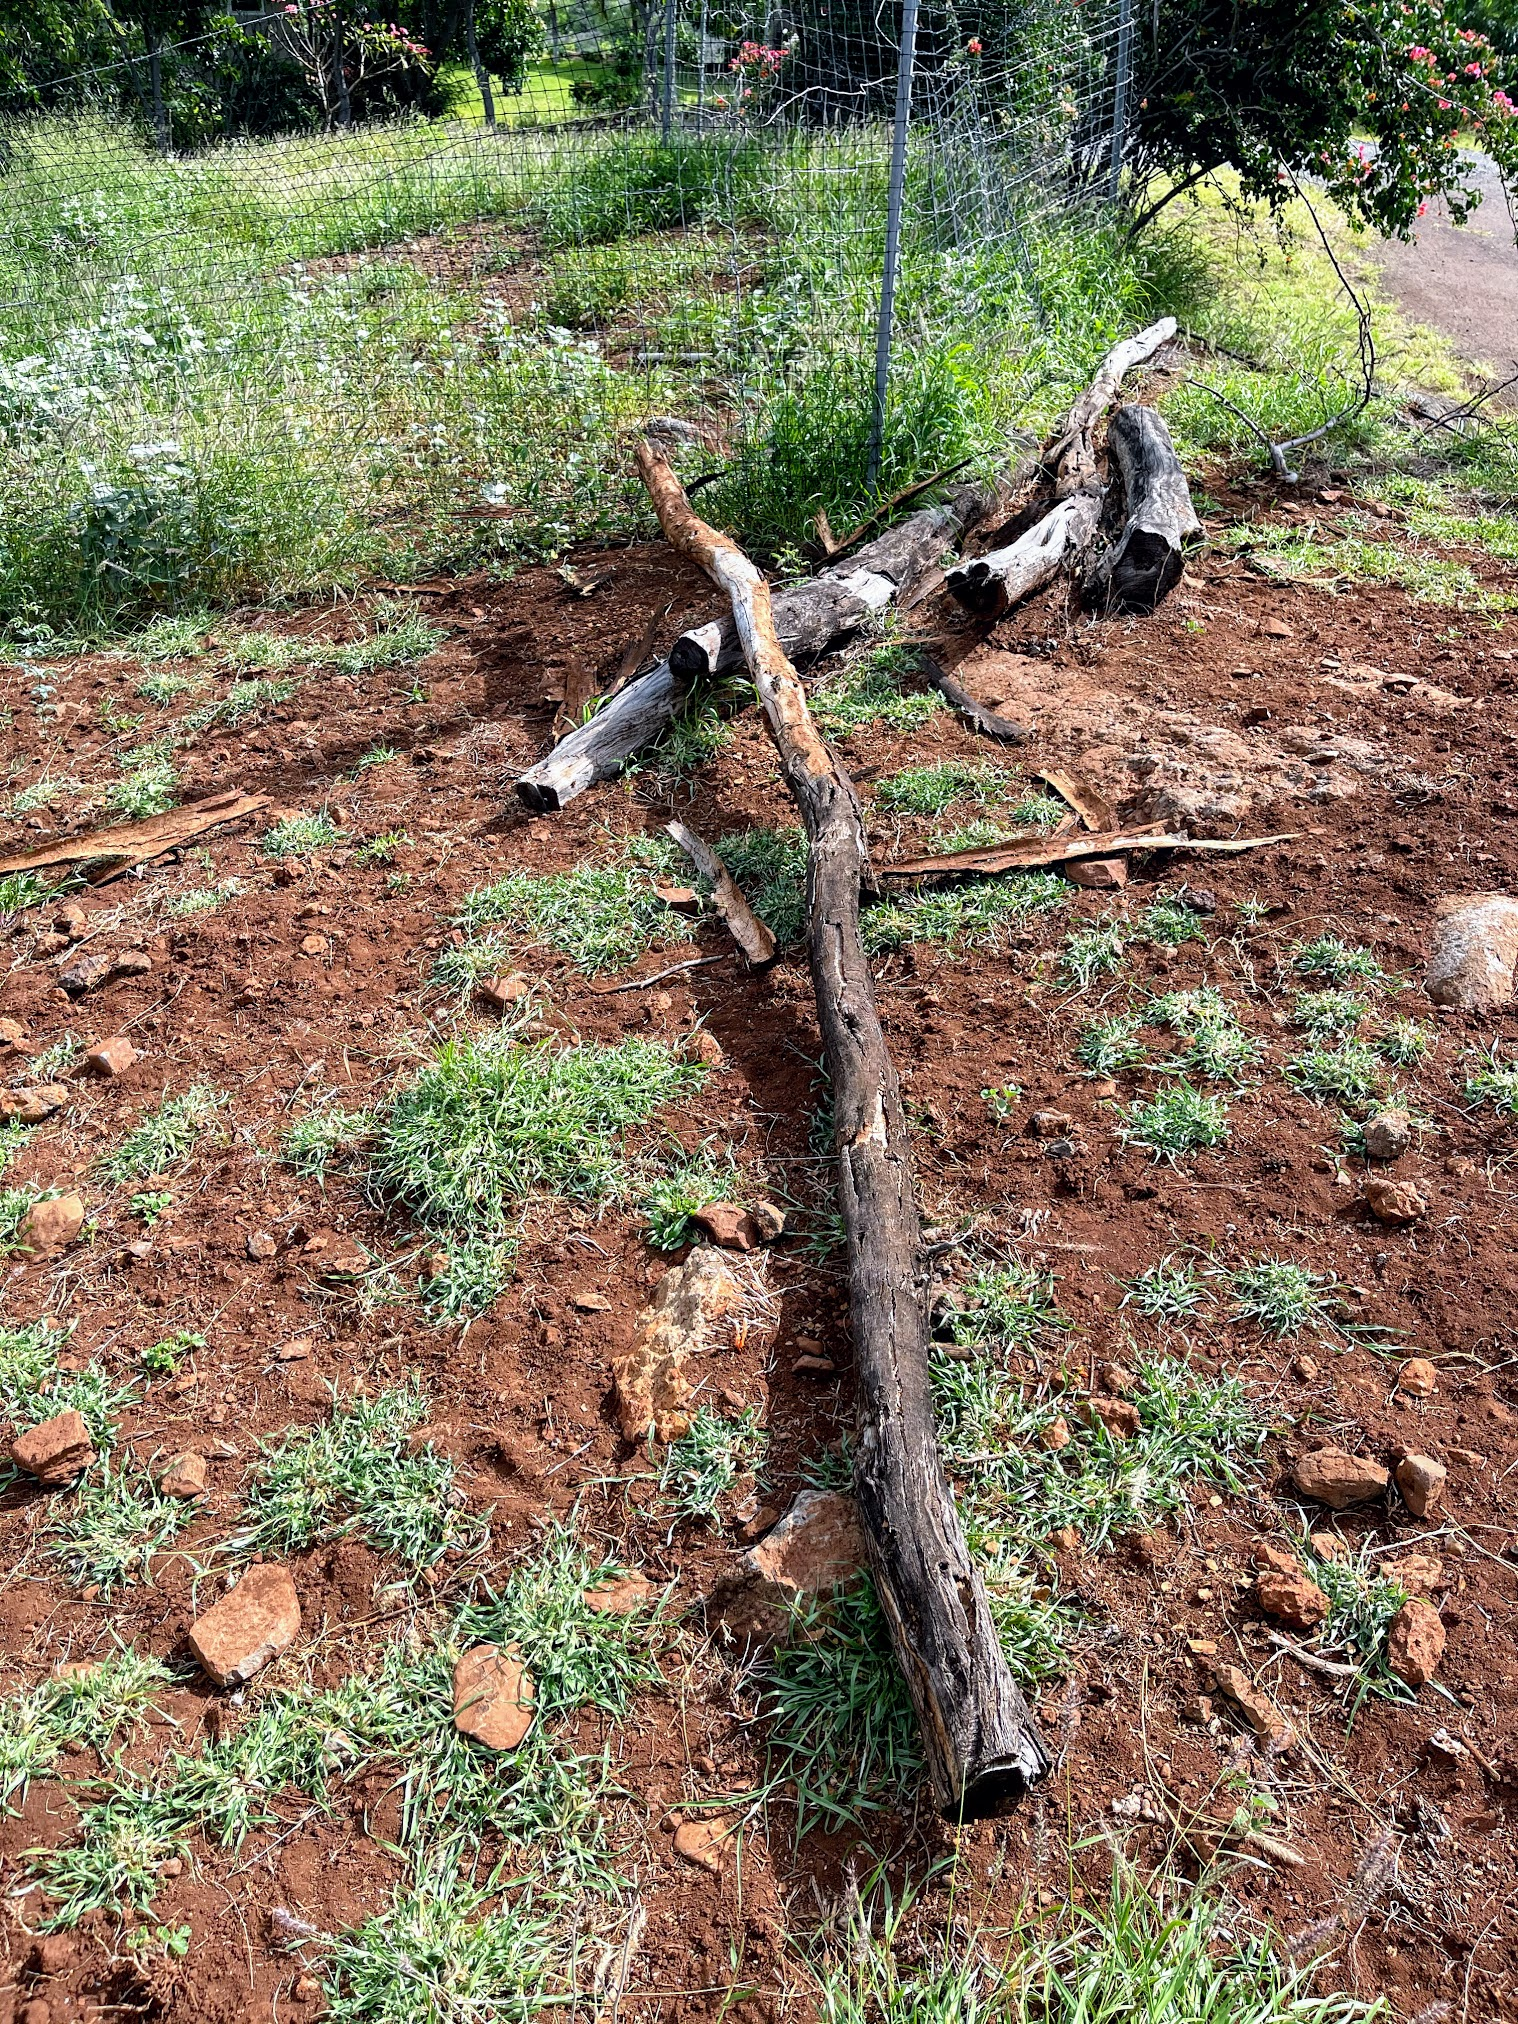
We don' have a must to have a fully fledged shed yet, so I brought it to my temporary workshop, removed the bark (and saved it for another project).
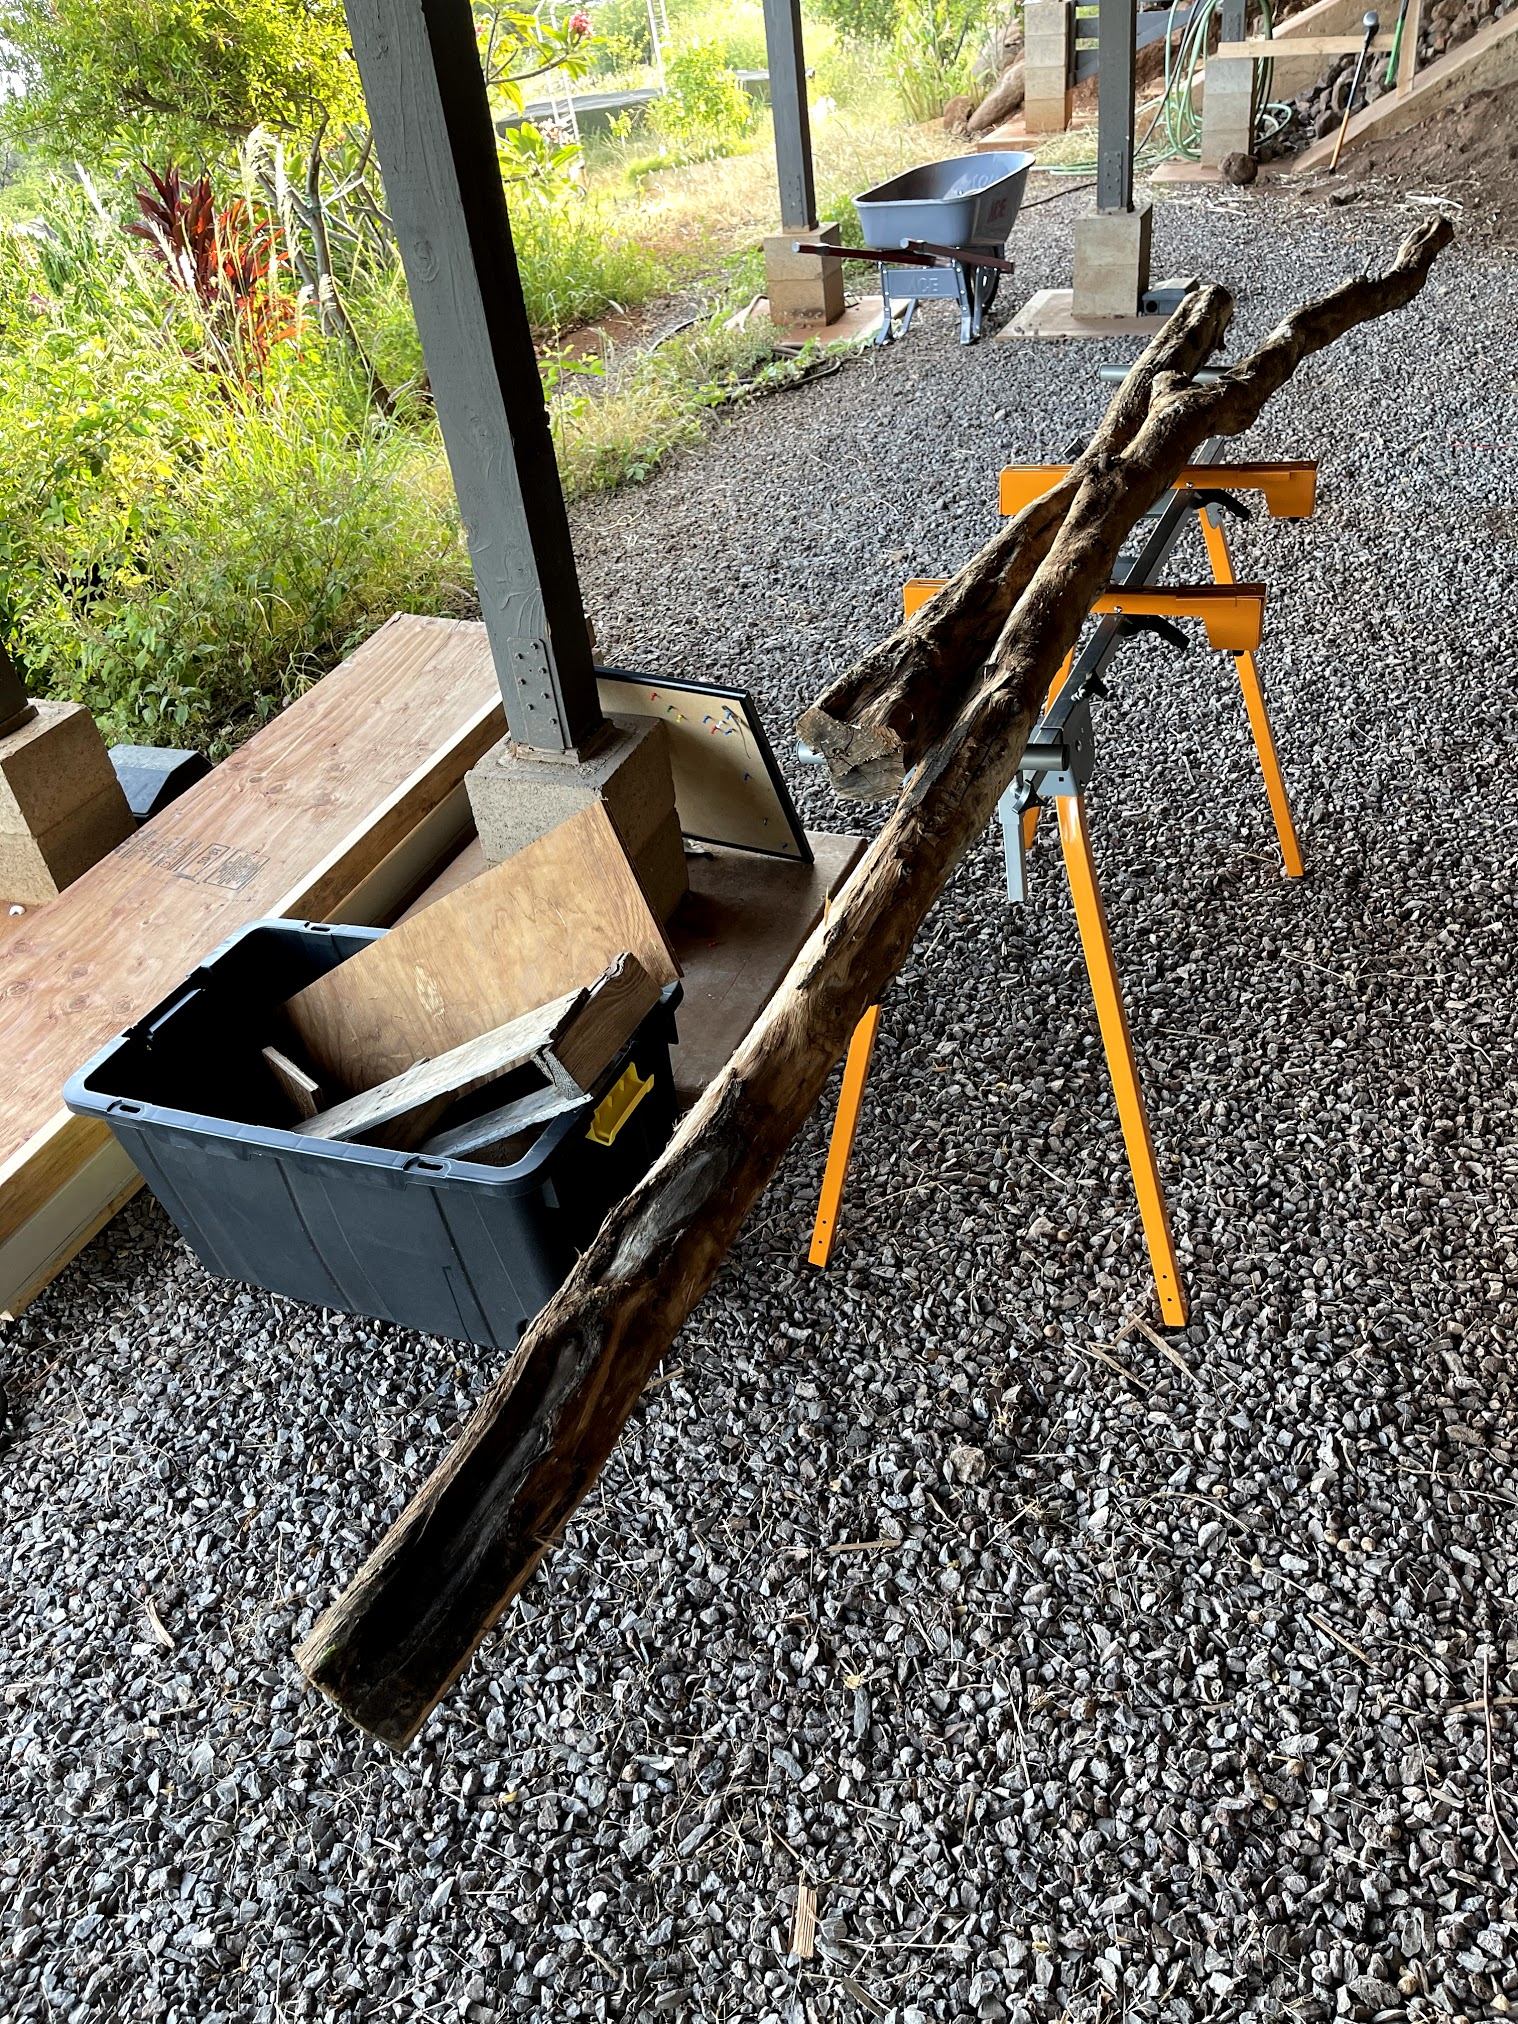
and start sending the whole profile. Man, that was a lot of sanding!
After sanding, I dug inside some of the cavities to make them more pronounced and deep cleaned the termite parts. You don't want to bring unwanted insects guest at home...
Then for several days, I coated the surface using polyurethane. Before going out and getting a can I asked Vickie what she would have recommended using. Since her background in chemical science... I keep falling into the way I ask technical questions to her.
If I ask: Victoria what do you think should I do/use for <something here> I get back an answer so short that not asking the question would produce a better outcome for my sanity.
If I rephrase that question as: Should I use this <something> or this <else> product to varnish the wood. I get back a chemical lesson that my head starts dropping around in a pivot like a newborn held by a newly fathered parent.
The correct way of asking the questions to her, for productivity purposes, is:
I am going to use <this> for this job. Wait a few minutes, in an absolutely religious silence, then slightly pretend that you are about to go and do it. Purely body language, you do not need to move much or it will not work. That's when a small whispering sound starts from her lips ending with "don't do that, I am getting you what you need".

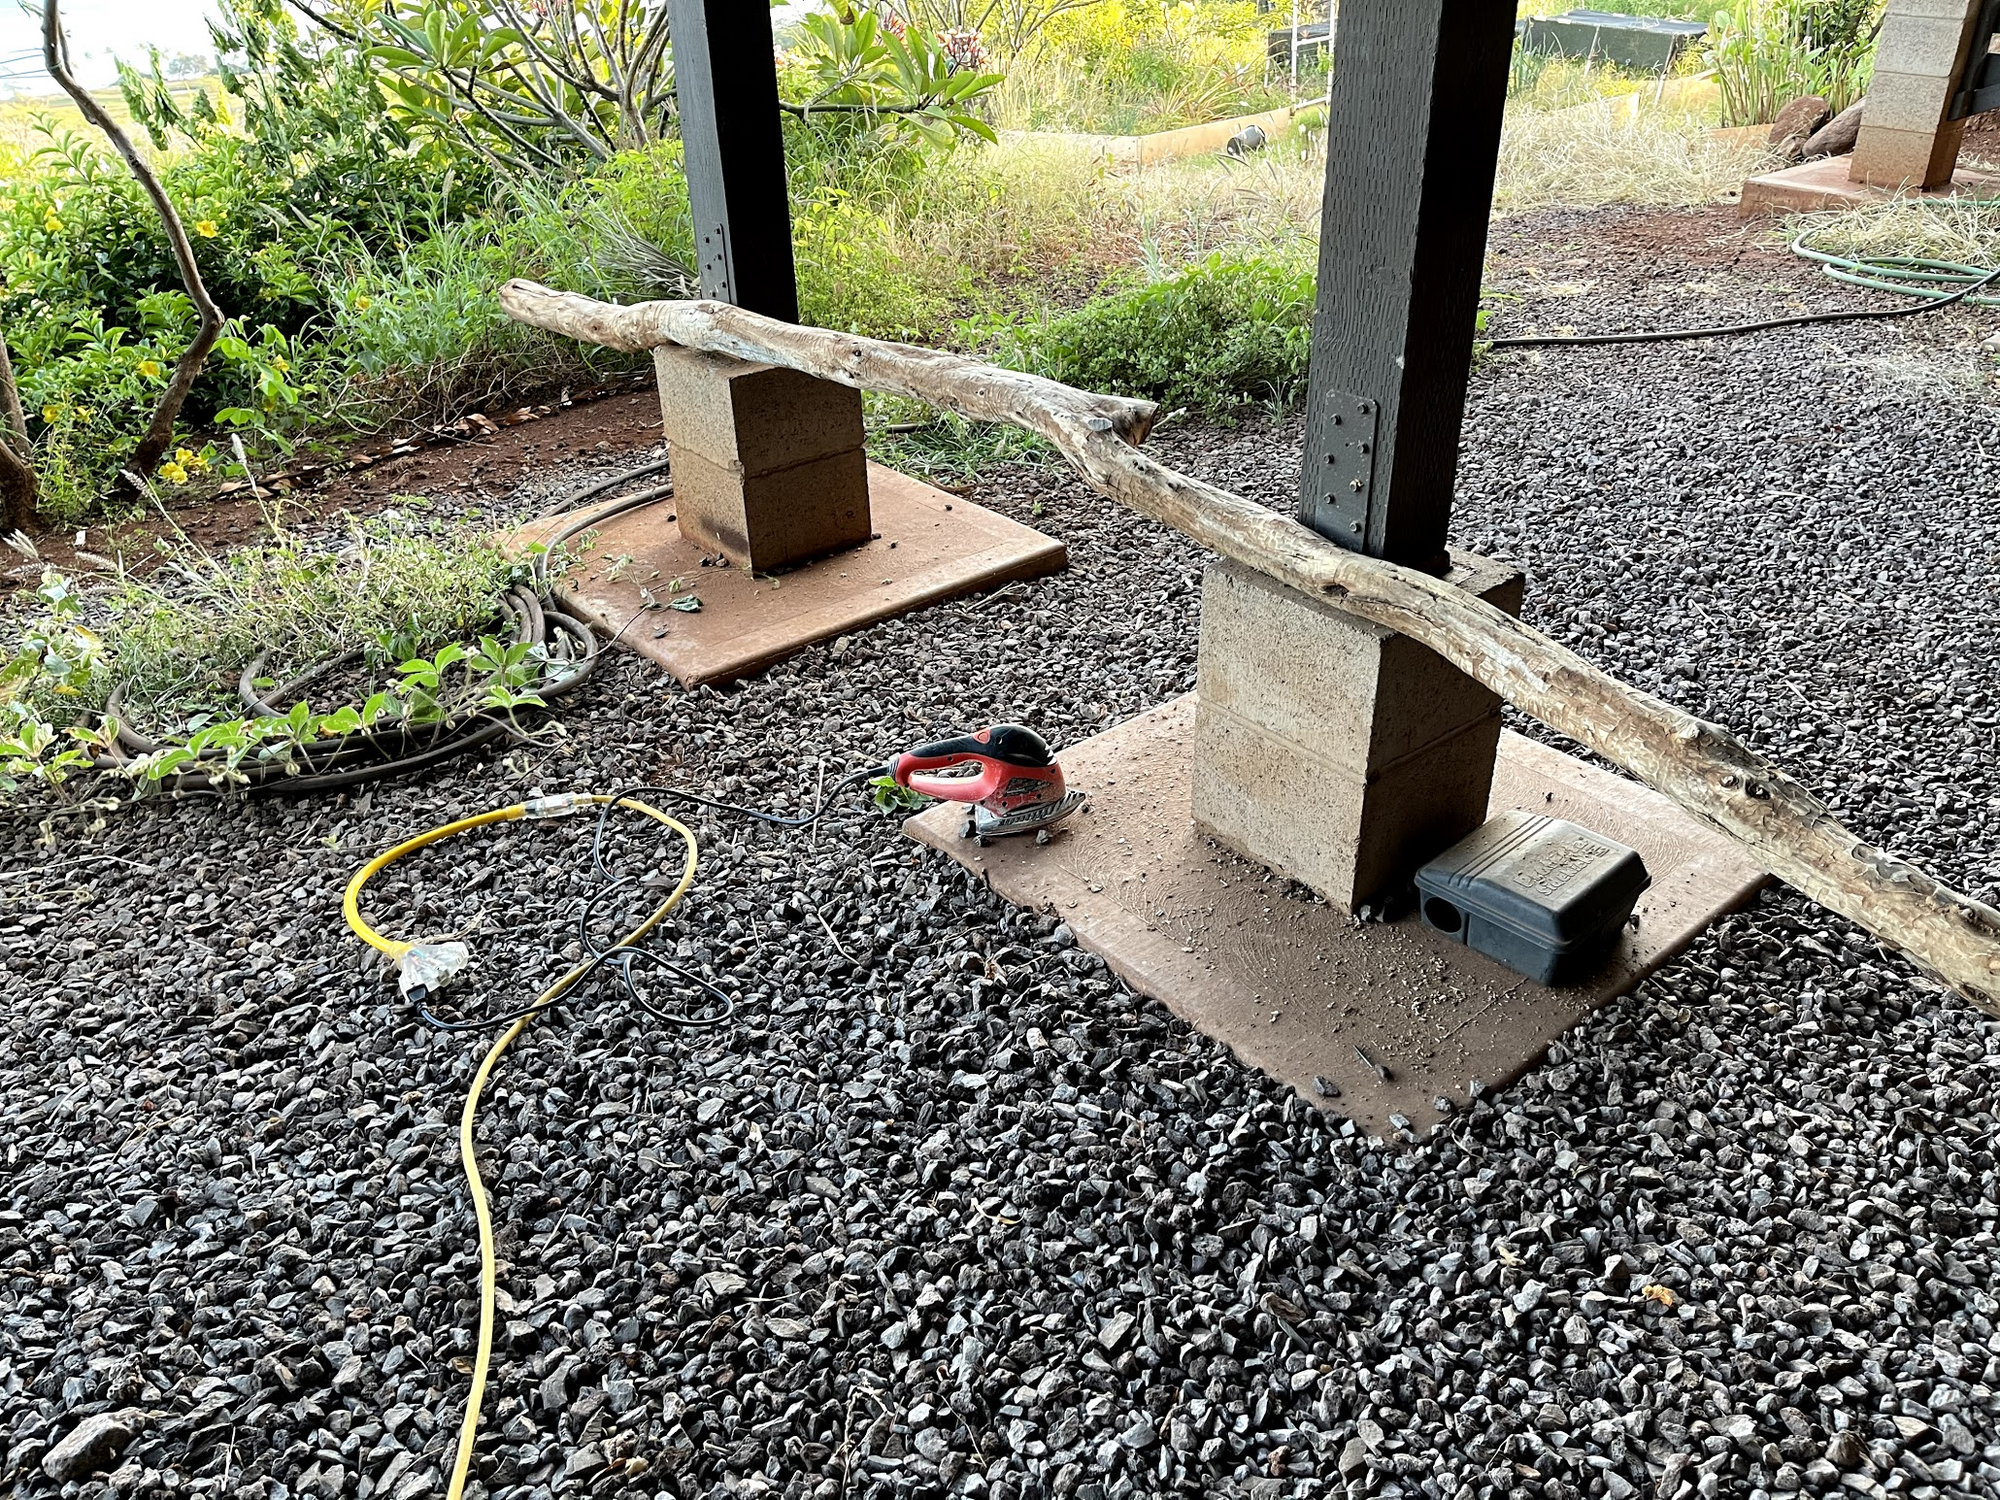
Did I do that? No, I didn't. Donkey! I framed my question with too many openings and therefore she grabs a stick from the floor, draws in the typical red dirt of the land the polyurethane formula explaining why what I was thinking it's wrong for the job and I should be immediately corrected and explained.

After I was properly schooled, pointed out that an arrow in those molecular structures placed at the wrong angle can alternate the course of life as we know it, I was given this item to buy.

And here my friend is a marriage tip.
You stay quiet, you listen even against your will, and even if you are not interested in unwanted information shoveled in your earhole, you pay deep attention because a question, to test your attention level, could be dropped by wife-drone at any second.
You are welcome.
When we rewatch that sketch from Bill Burr we both laugh our ass off and joke about these dynamics of her doing that to me and me doing back to her when she is the one asking the question "in the wrong way" 😅
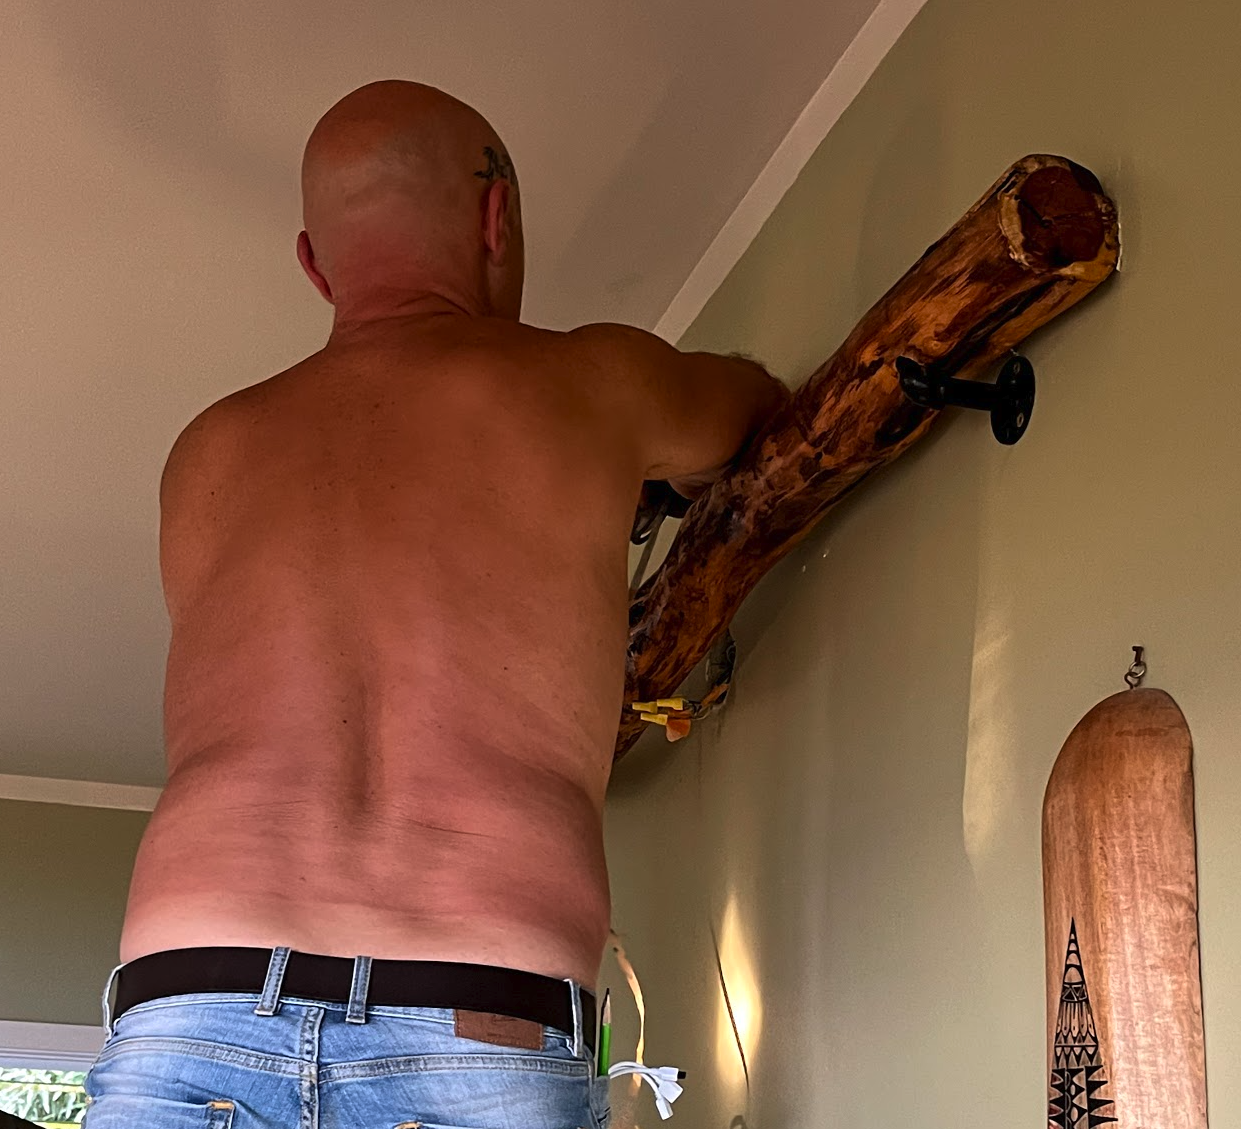
I finally finished varnishing the whole branch and then it was testing time to make sure that the alignment was correct and most important to find a match between where the studs are in the wall and where I could find the closest spot of the branch that would face the wall. We were not dealing with 2x4x8 a piece of wood from Home Depot so you had to be very clever and hulk in one because that thing is very heavy!

Once the right spots were identified and that was not a trivial task because you can't rely 100% on the stud finder, they are professional liars!
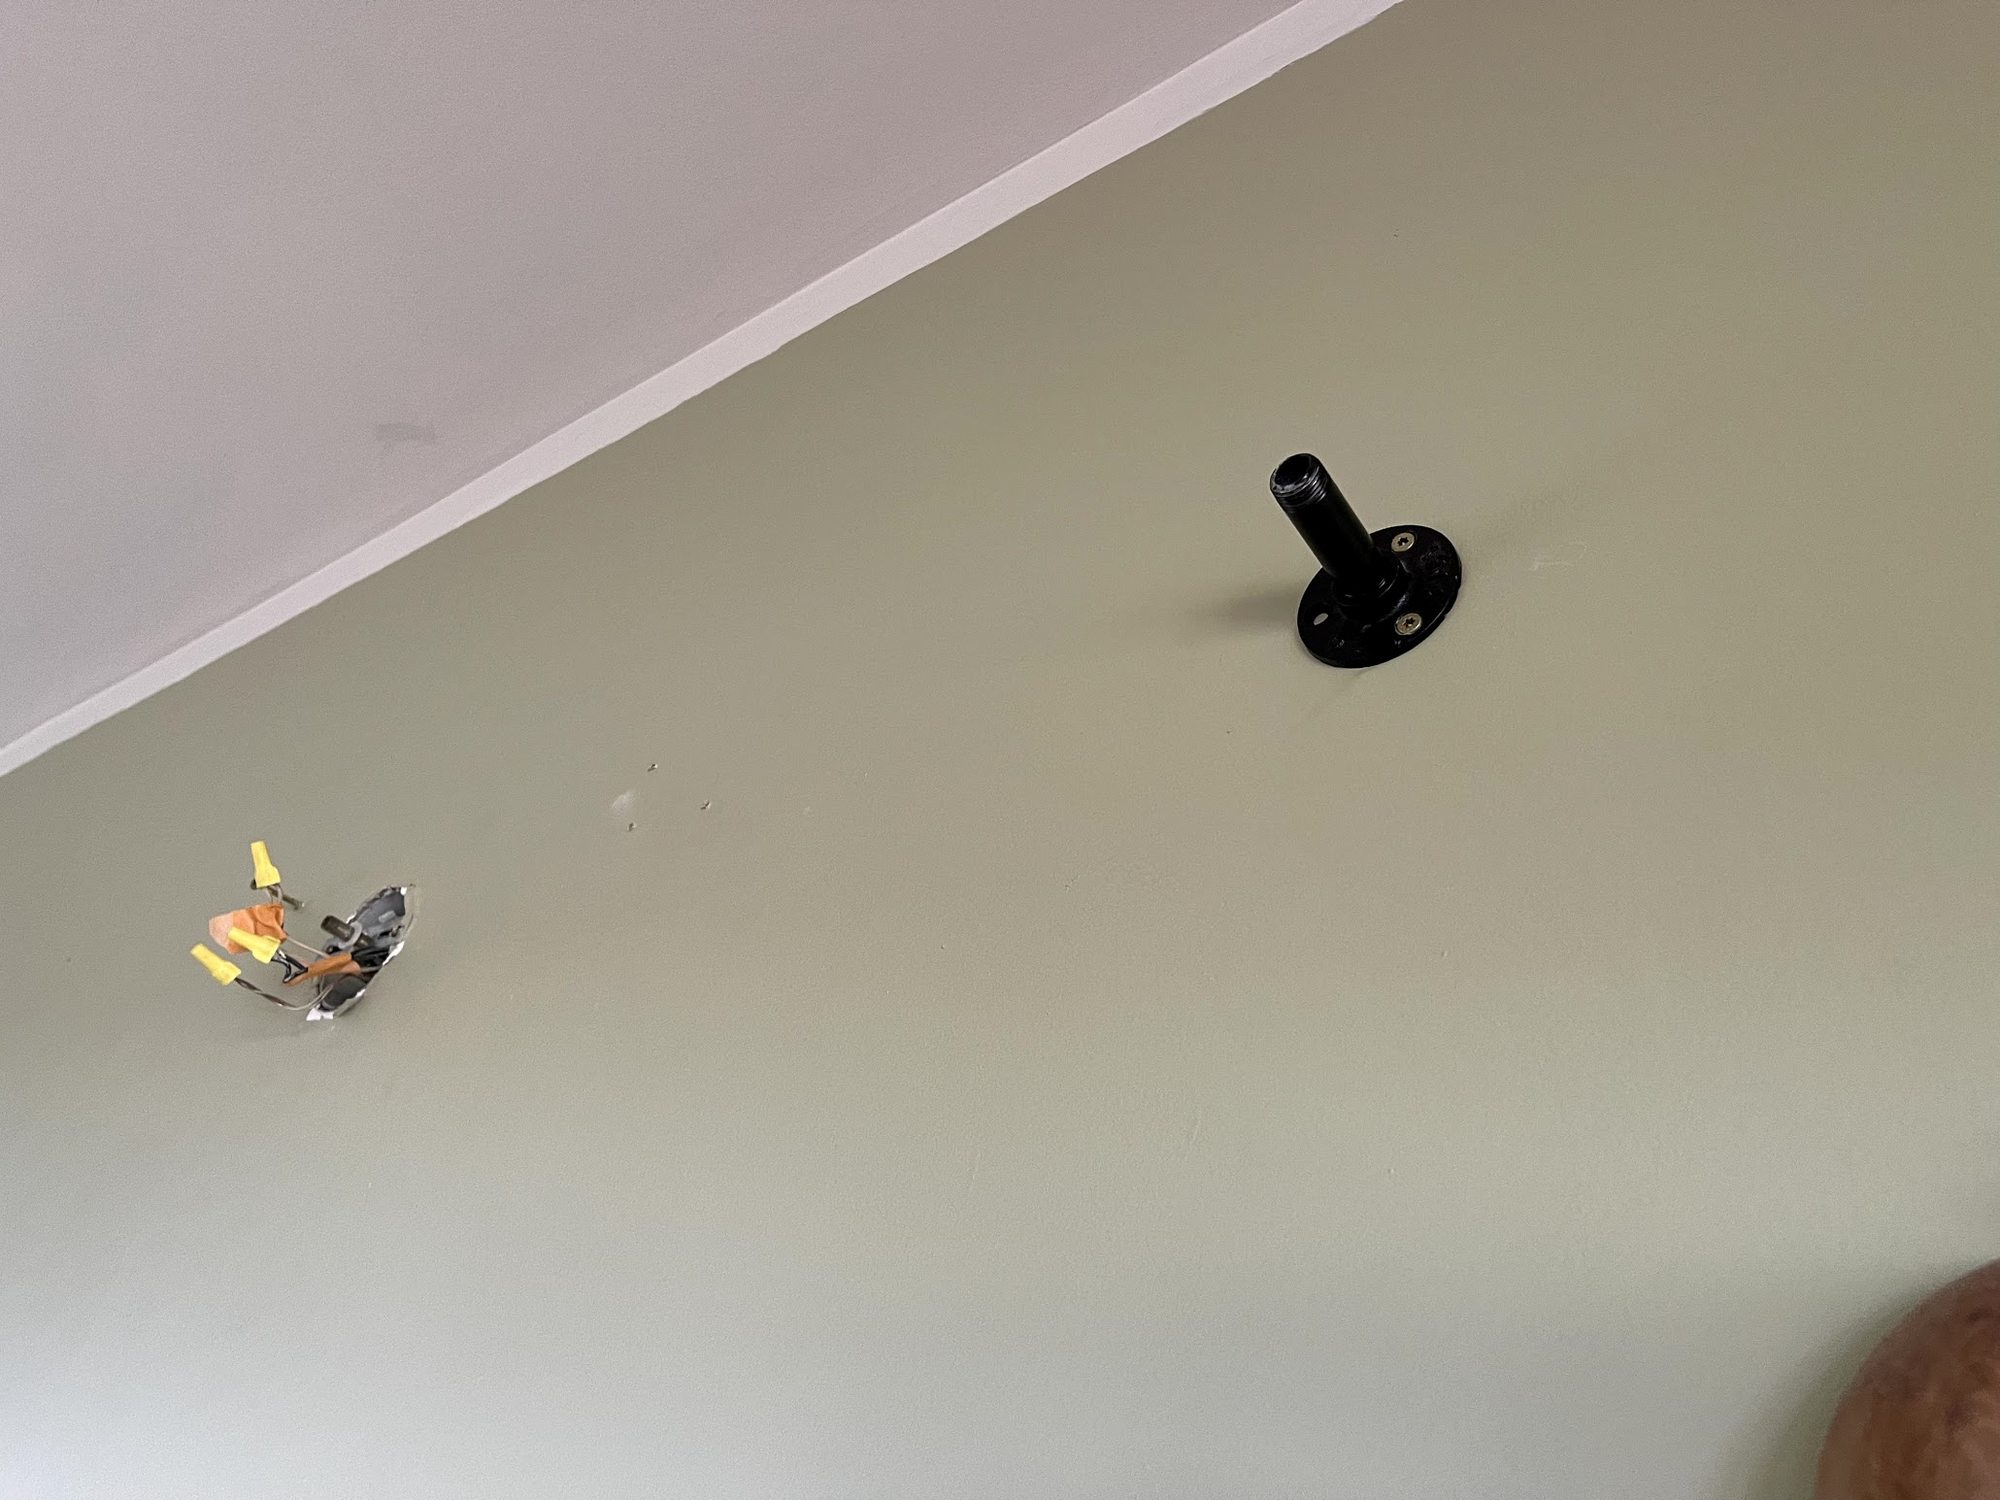
I drilled very snag holes to fit in those connectors and curving just enough on the other end so that the elbow of the connector had enough room to be tightened by twisting the head. Ultimately, I decided not to add the nut-head because I had found a stronger approach and more discreet.
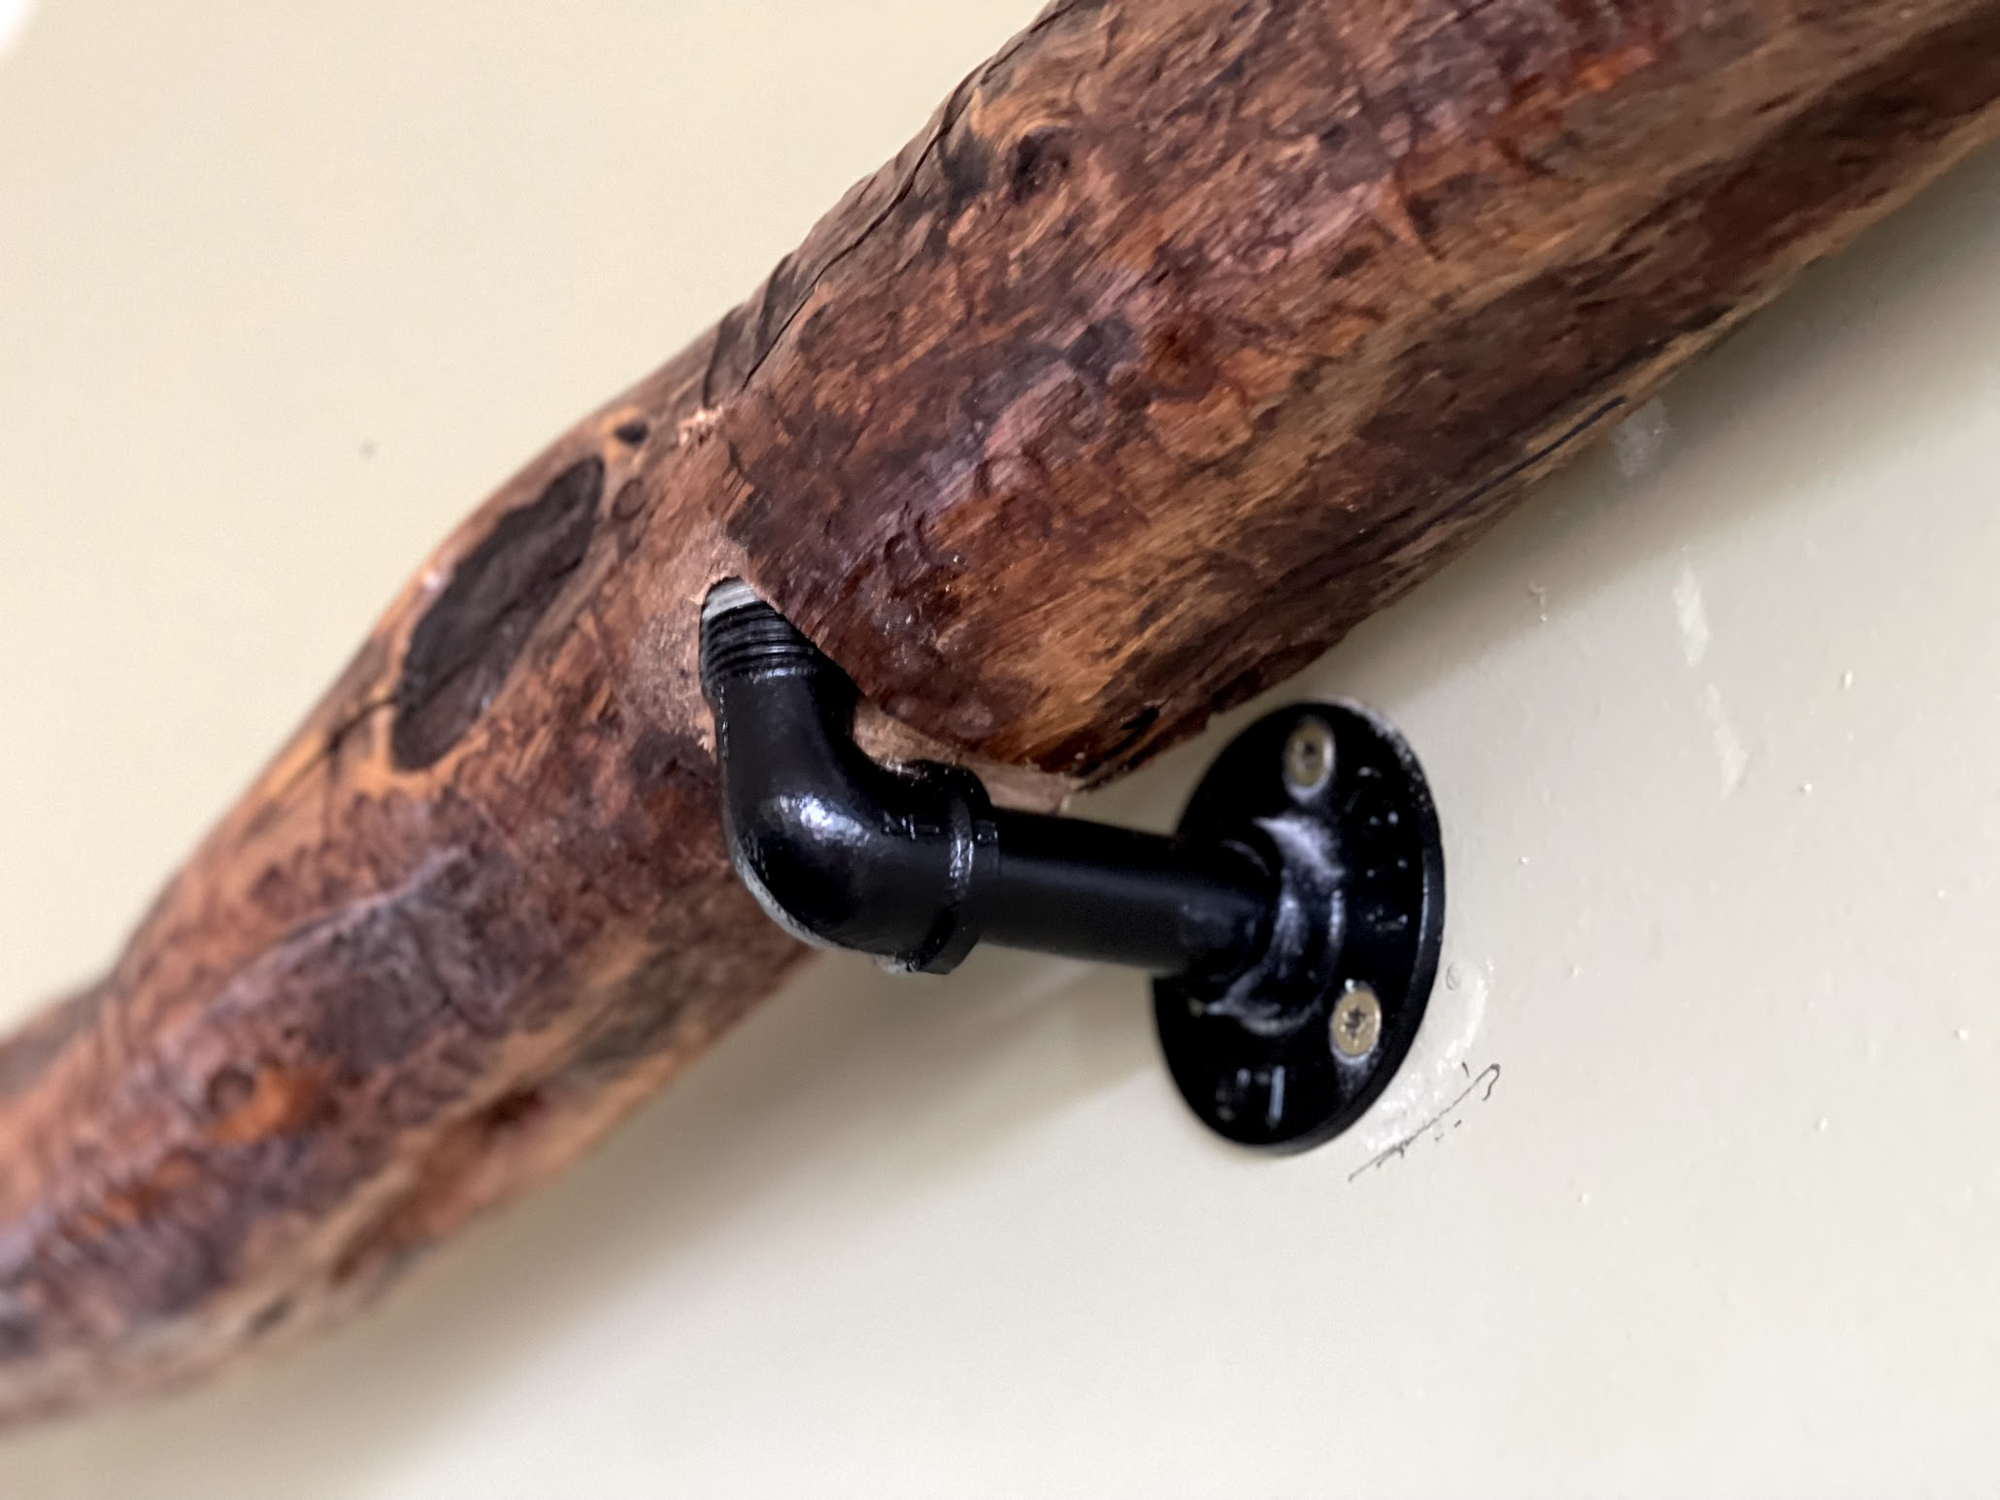
I used deck screws 3 1/2in long to make sure that this thing doesn't come down in the middle of watching Breaking Bad... that would be unpleasant. It would be fine while watching that wedding video for the 30th time in a row, otherwise, it's a nope.
Once it was all connected it was time to pull the power wires and start laying down the lights.
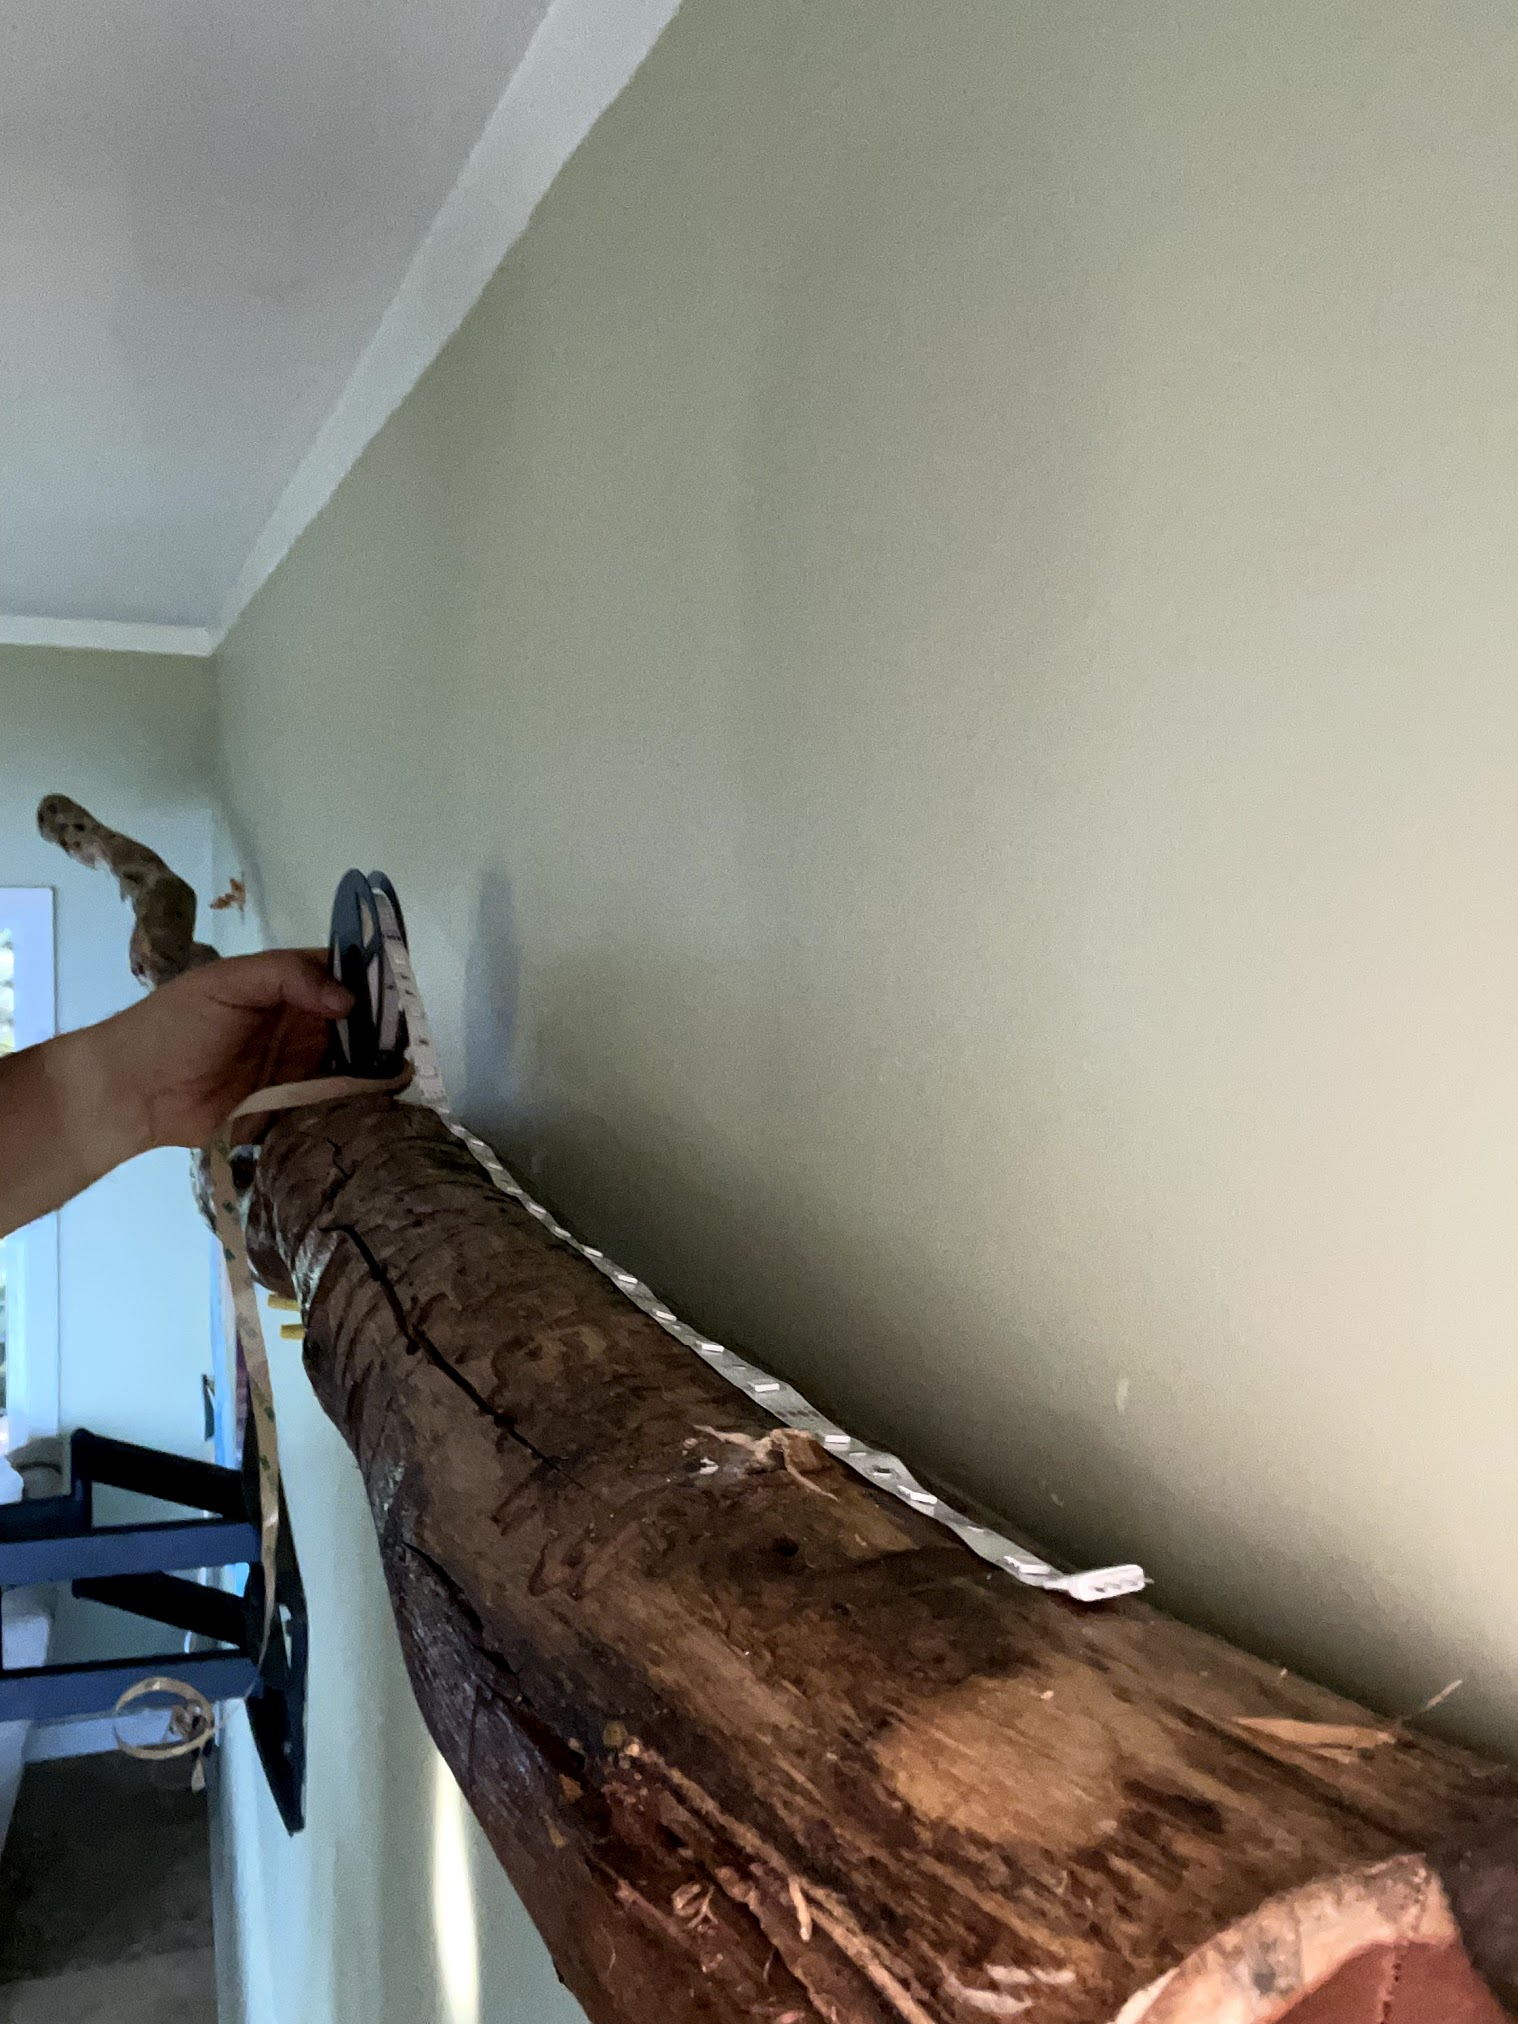
I used this LED strip which supports multi-color and has a remote for color customizations. They have a very low temperature which means bugs are not very interested in that spectrum.
Once it was connected, I had to figure out how to make a power outlet fit in the extremely tight space I had available. I didn't want to deal with cutting into the drywall because Vickie had just finished painting the living room. Again marriage survival is a critical life skill.
As turned out, there's no "this will take a few minutes" operation when you do DIY projects... After attempting several ways of making it work, it was pretty clear that the electronics iron had to come out of the drawer and solve all my conundrums.
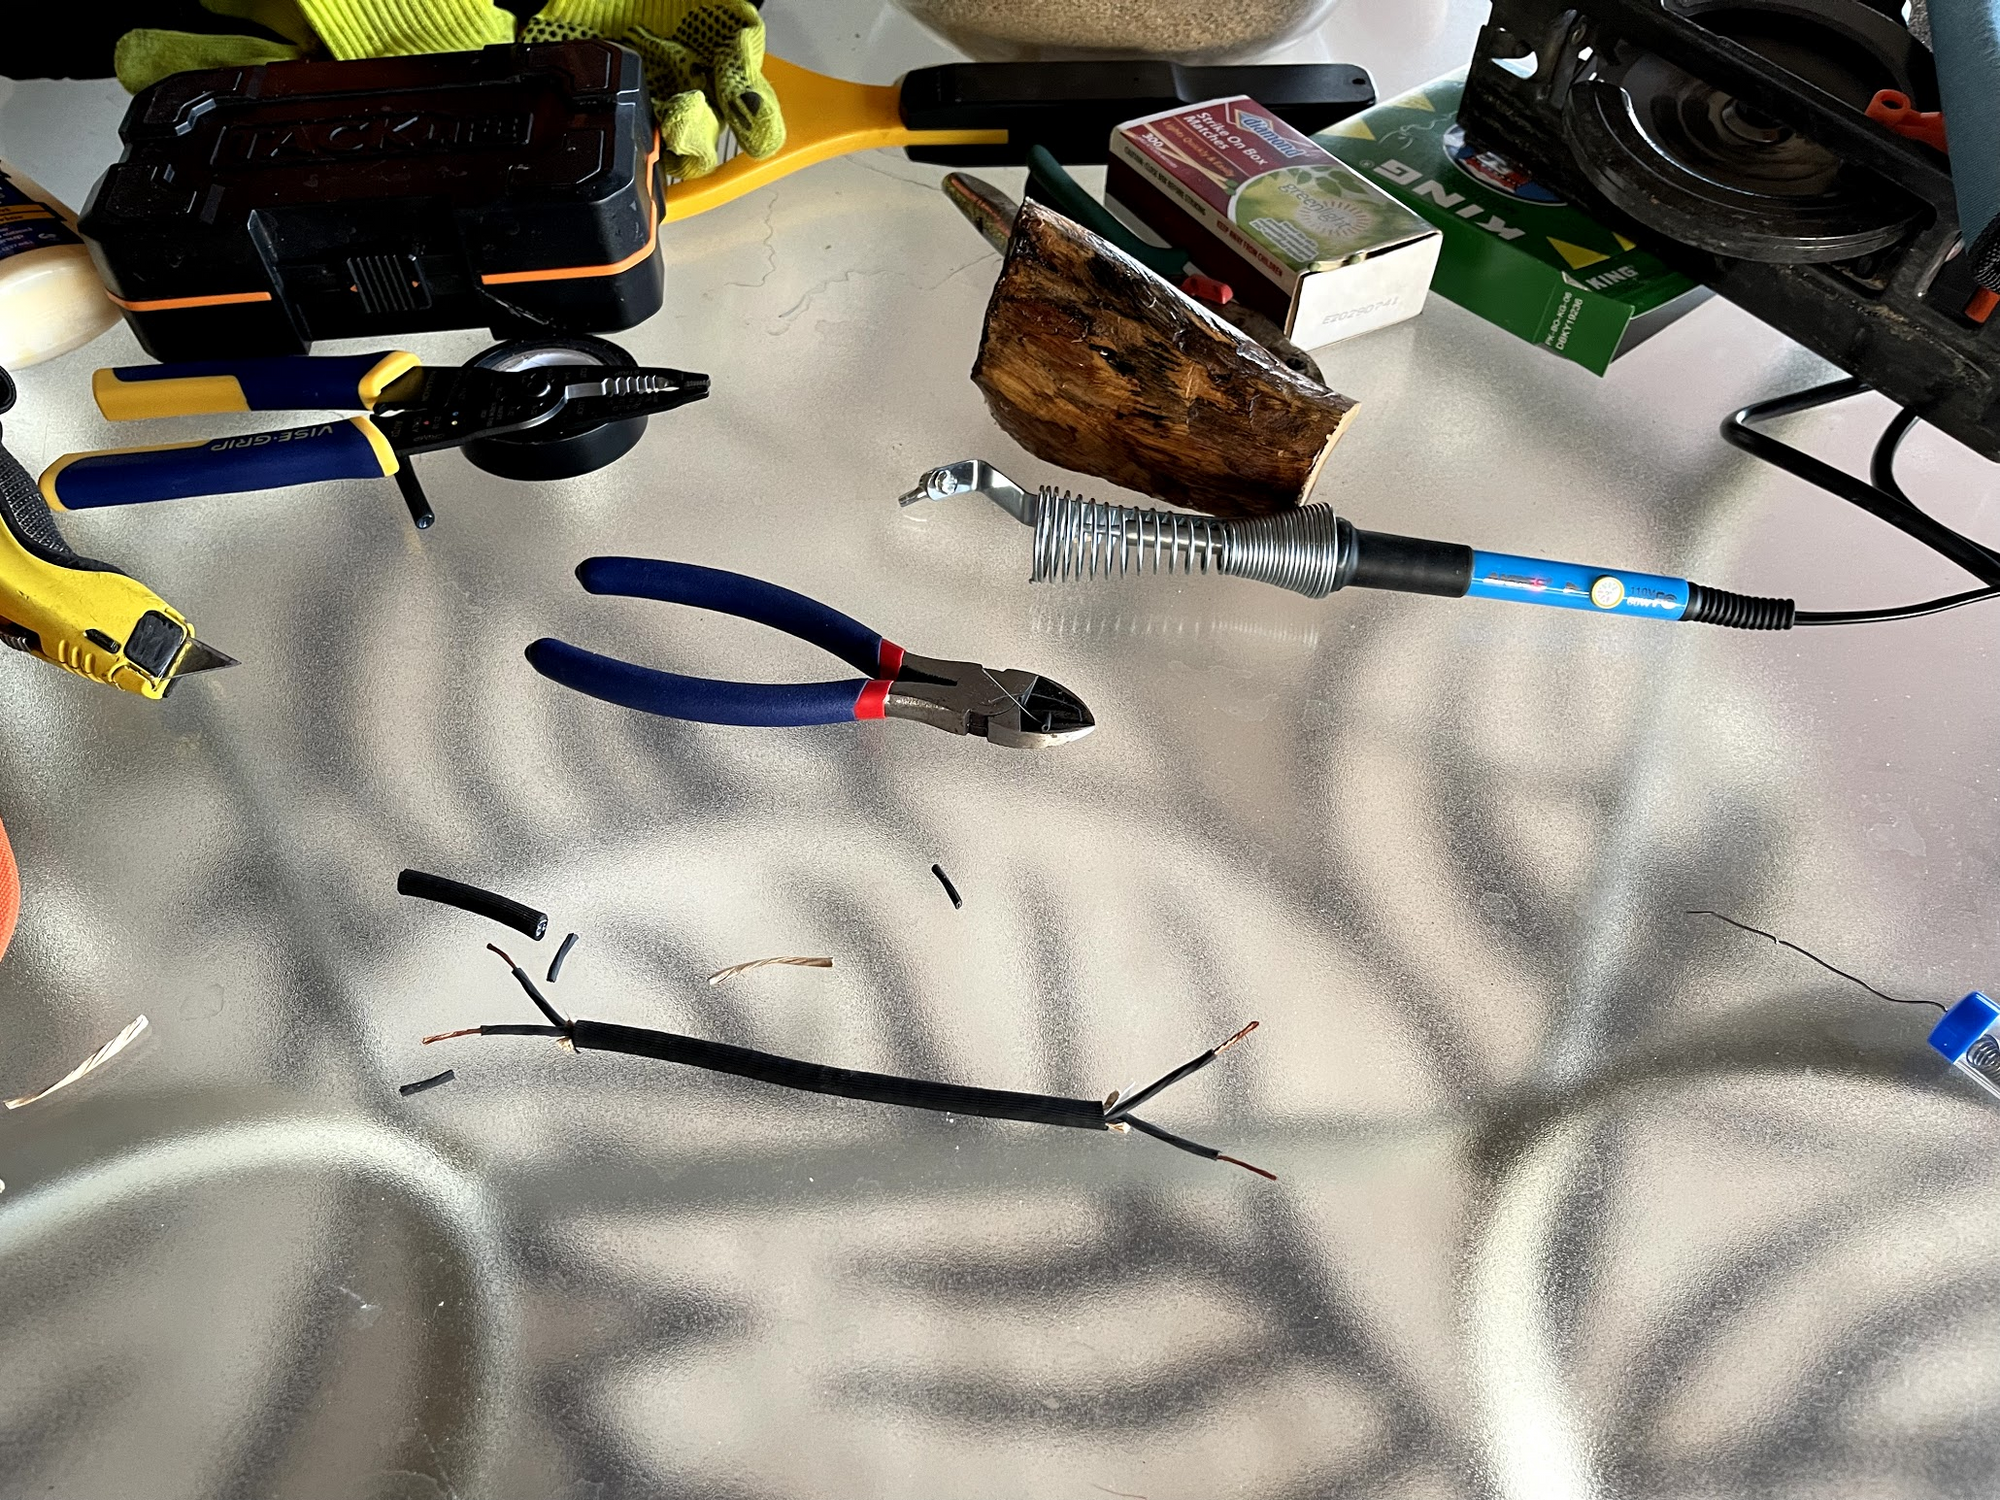
After stripping wires, modifying the power supplier for the weird curvature I had to deal with, I wrapped everything up, tight the wires using the wire caps and it was time for testing. It was late at night and taking my gloves off to snap pictures wasn't feasible so I don't have that part. I will fix that for the future though!
There was a temporary f*ck moment because when I turned on the switch the lights weren't coming up. As turns out, I used a capacitor that was a bit higher than needed and it takes about 3-4 seconds before power starts flowing in. I didn't have much of a choice. Amazon takes a few (random?) days to deliver here so ordering and getting the next day is as predictable as the weather in Seattle and there's no electronics store in town.
So I cannibalized an old bell motherboard to get the capacitor I needed. Hey upcycling on an island a survival skill 😎
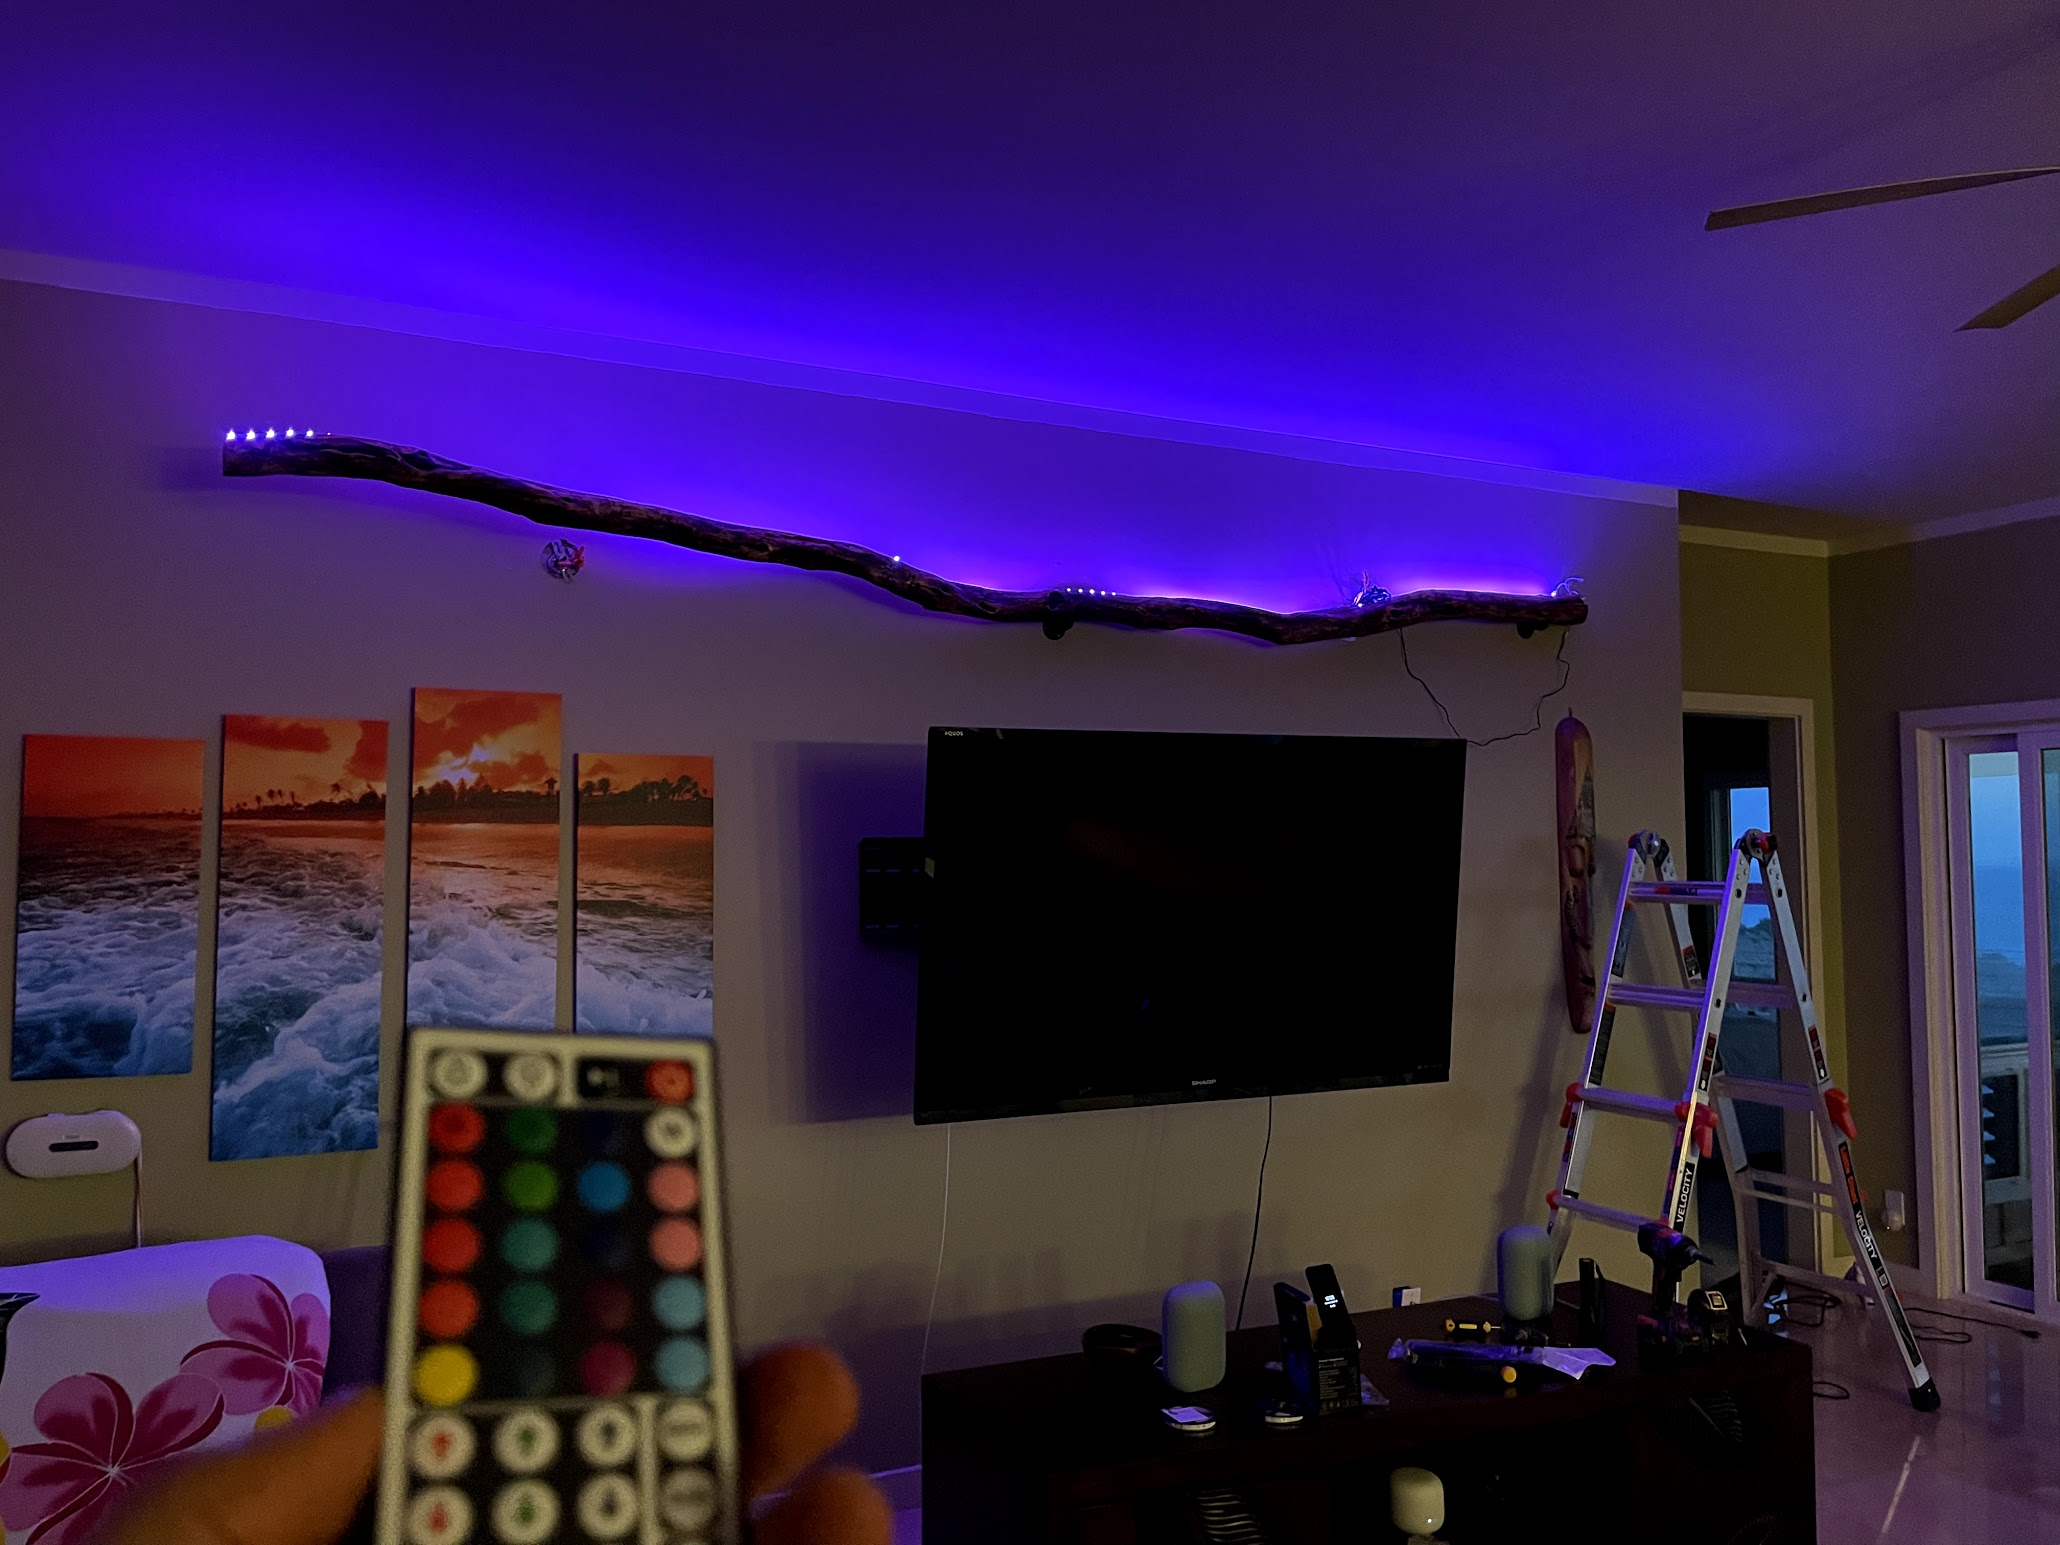
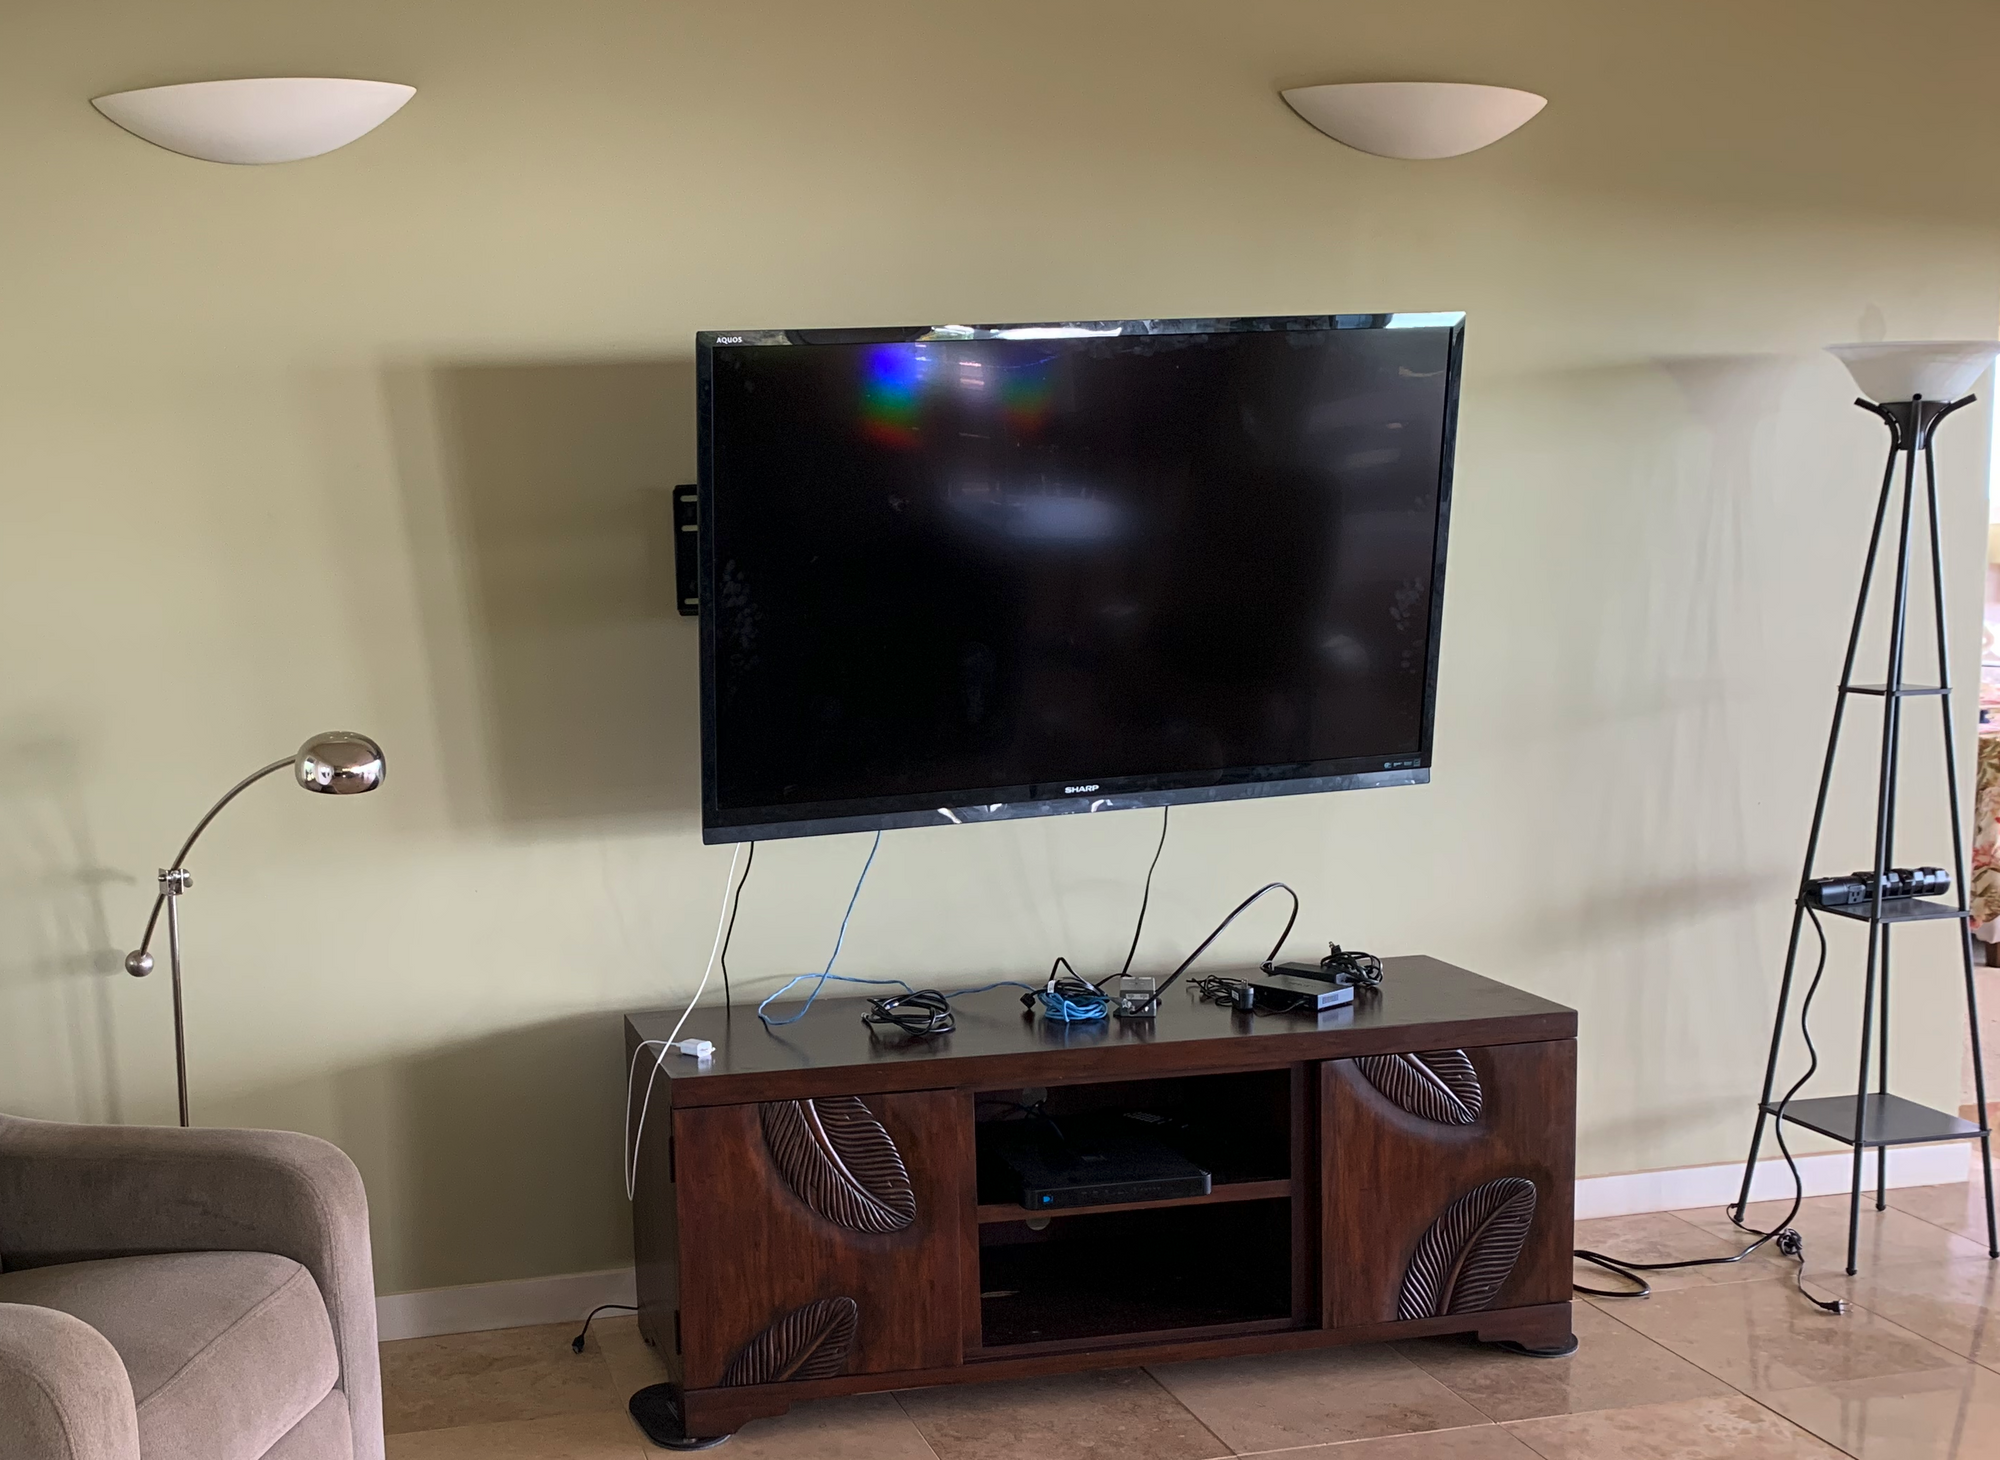
We are very-very pleased about the outcome and the practicality of the new addition. It is very cool to look at and a very warm feeling at night while watching tv.
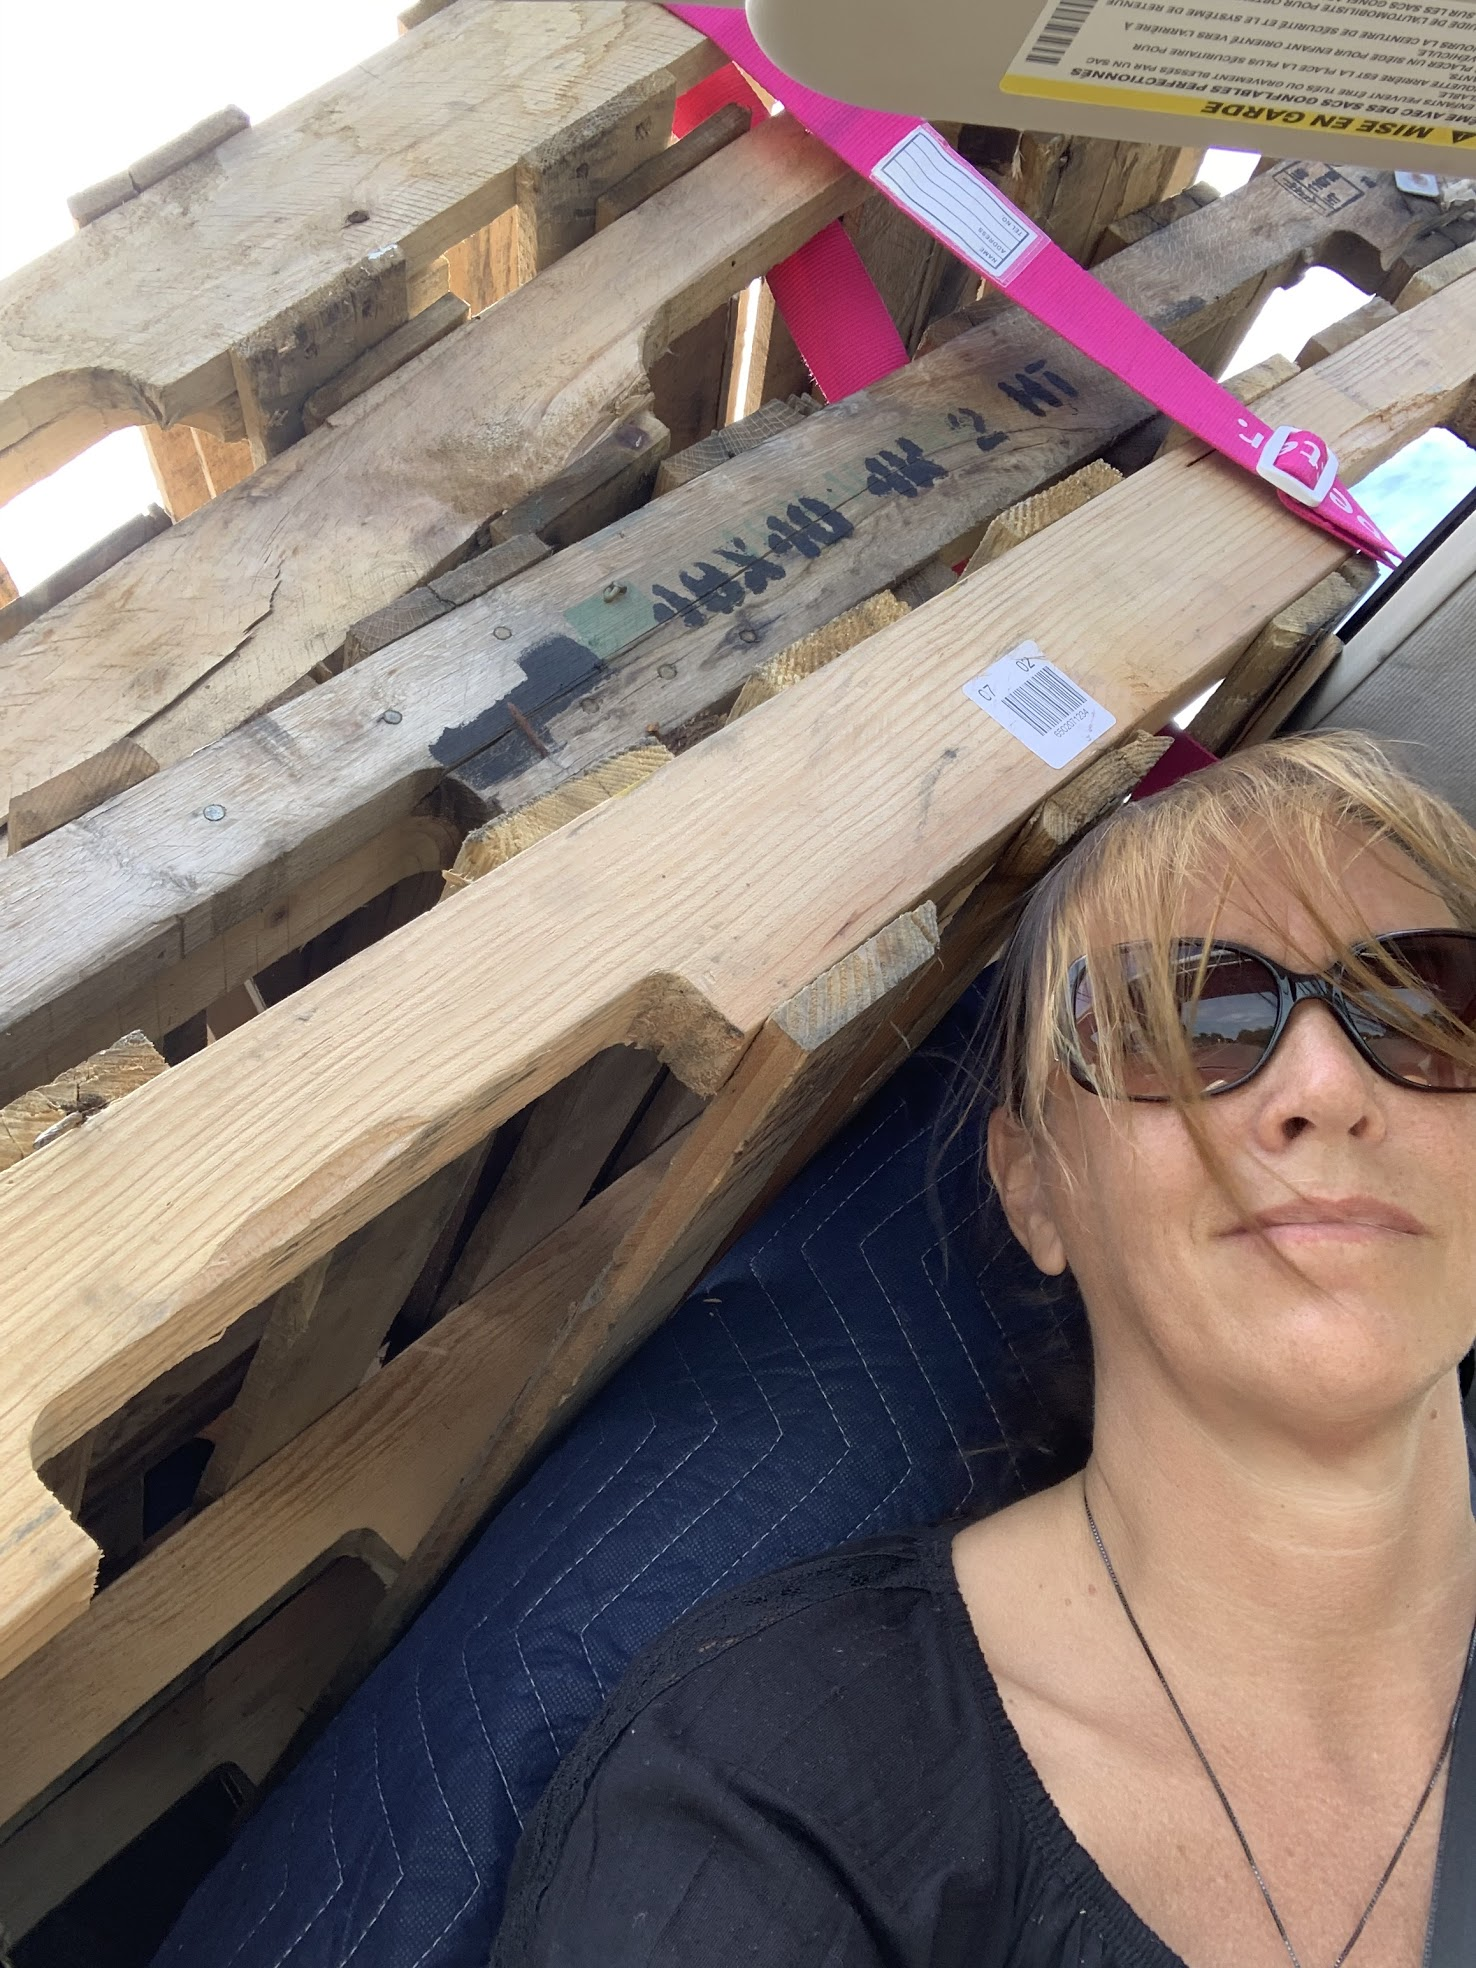
Thats' all folks. Next time I will tell you about how creative you become to find construction material when you don't have plenty of options around. Here's a sneak peek though.
Vickie is writing a post on when we got stranded on the most remote part of the island with a dead battery. An EXTRA-kind local couple helped us out to rescue us and Torpedo and meet our great friend Robert. During the rescue mission, I came to find out that Kaui a mother of three smiles stealer children, when in the army was stationed in Pordenone and her favorite Italian dish is Carbonara!! I already liked the lady, not I like her twice and some.
Our Carbonara will never be like the masterpiece that Andrea used to make at our place but we will do our best to get as close as possible to that piece of art and thank them for helping us out.

Till then, have a bLife moment every time of the day, wherever you are.